Get the Most Out of Your Rowing Machine with Expert Technique
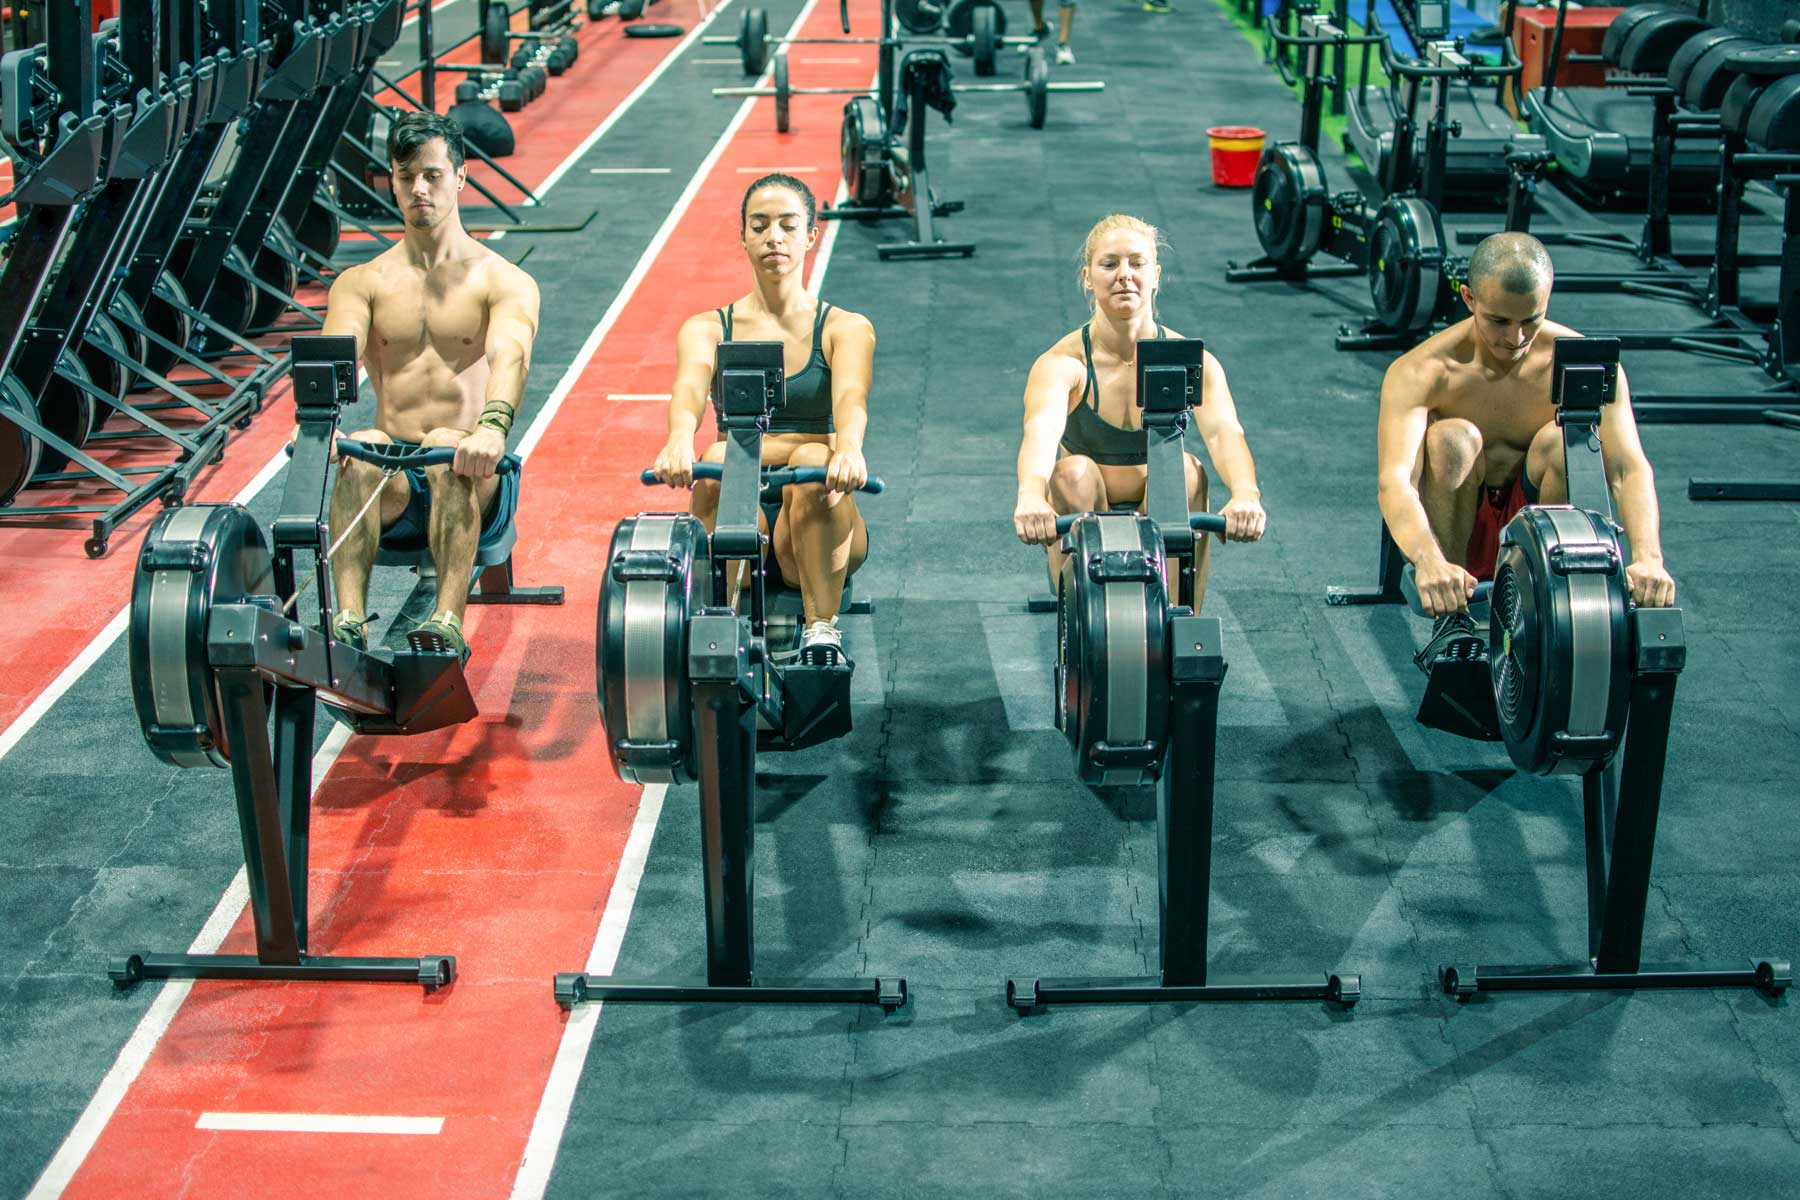
Rowers are a super common piece of exercise equipment these days. You can find them everywhere from CrossFit gyms to your corner rec center. Whether you’re a rowing machine fan or foe, knowing how to use one properly just adds to your fitness arsenal. Are you getting the most power out of your stroke?
James Needham is a certified personal trainer since 1995 with a bunch of letters after his name to lend credibility to his years in fitness (USAWL1, CFL3, CSCS, NSCA, ACE, AFAA). He’s the head coach for a private strength club in the eastern Connecticut wilderness. In this piece, he provides the ultimate guide to rowing technique, breaking down the catch, the stroke, and the return. Plus, he outlines his best tips for rowing strategy to balance your stroke rate and speed. He even gives you a quick overview of how to calibrate your machine for the most accurate measurement of your fitness. Don’t miss out on learning a thing or two here about rowing efficiency.


The ultimate guide to maximizing your rowing power output
Never underestimate the power of a good rowing machine.
After clocking thousands of rowing meters myself and coaching so many athletes over the years on the benefits of using a rower, the gains that come along with a rowing machine are crystal clear.
Whether you’re a rowing machine fan or foe, you likely have some relationship with it.
My goals here are to help you optimize your time on a rower and to give you insight on how to incorporate the rower into your training.
The Concept 2 Rower is the most widely-used indoor rower in gyms and boat houses around the world due to its simple design and user-friendly stats. Your technique—good or bad—will be revealed on the monitor in the same way your technique (good or bad) becomes evident on the water.
What makes the rowing machine so special?
A few things give the rower its maximum bang for your buck that can lead to some serious love-hate feelings among athletes.
- It delivers intense, low-impact cardio training.
- It’s easy to use (getting in and out of it).
- You use both your lower and upper body to elevate your heart rate.
A common misconception is that using the rower involves a lot of pulling with your arms. The movement is actually more akin to a deadlift, where the back is isometrically contracted while the legs do most of the work.
I often tell my athletes, “Your arms and legs should never be bent at the same time. If they are, you’re doing it wrong.”
The Marketplace: Shop Expert Programming from Real Coaches
Sometimes all you need to reach your destination on your fitness journey is an expert guide. We’ve got you covered.
The TrainHeroic marketplace is the only place to purchase programming from the World’s best coaches, delivered through the immersive training experience of the TrainHeroic app.
Browse from thousands of programs for any goal and every type of athlete.
Or, join a monthly programming membership to connect with a real coach and community of athletes training just like you. Try any programming subscription free for 7 days.

Breaking down your rowing technique
Understanding the Catch
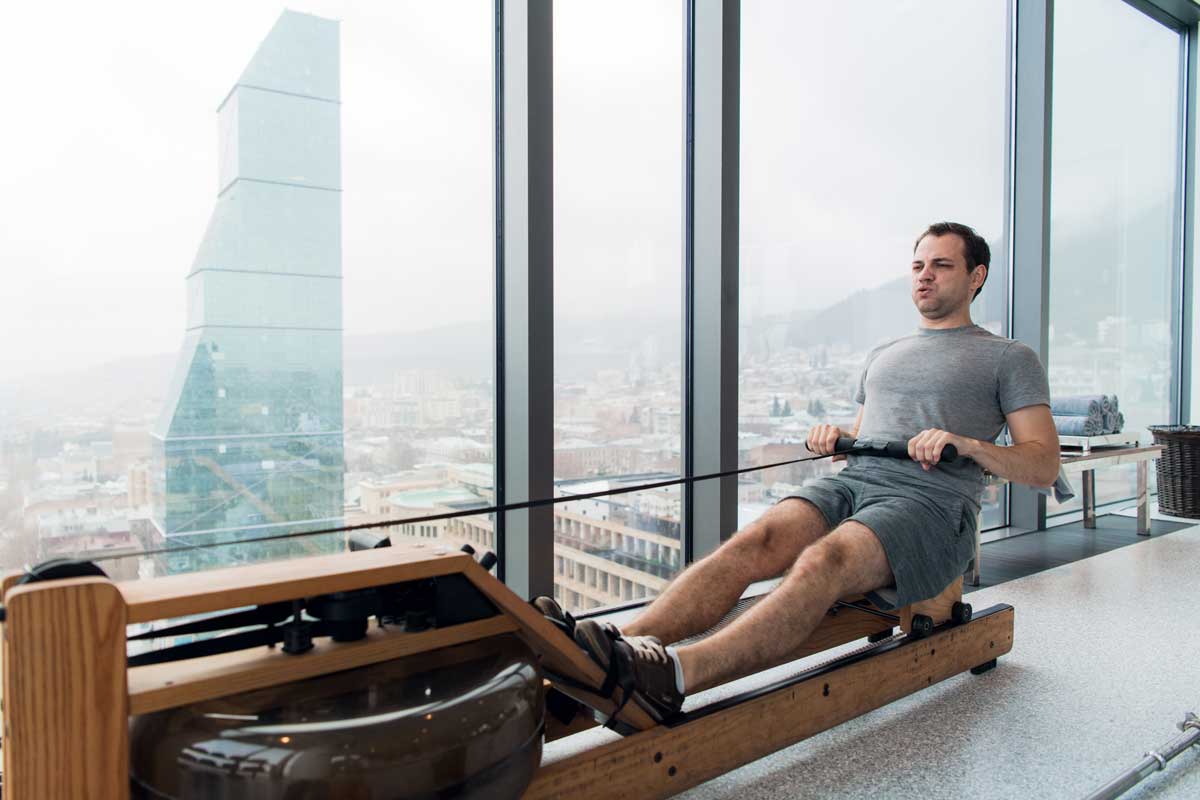
The starting position is referred to as “the catch”. It’s where your blade would get dropped into the water if you were rowing on a lake. When the handle is closest to the fan and your legs are bent, your posture should be locked in. As soon as you start to slide the seat back, the handle should move back while your arms stay straight. It’ll look as if your hips, spine, and arms are welded together.
As you start to drive with your legs, you want that leg power to transfer to the handle. This part gets overlooked sometimes, but it’s important not to lose that power somewhere in your kinetic chain by letting your form sag.
As you start your stroke, watch the seat. If the handle starts to move and the seat doesn’t (or if the seat slides closer to your heels as you start to pull with your back) you’re pulling early and NOT using your legs. This is where a lot of rowers lose power.
Now that you have your catch on the right track with an efficient and powerful leg drive, let’s get into the rest of your stroke.

It is all about your stroke
Coaches often describe the stroke as “a straightening of the legs, followed by a slight lean back, then a bending of the arms to finish the movement.”
The return or recovery position back to the starting point is described in reverse order: straightening of the arms, followed by a slight lean forward, then a bending of the knees to return to the catch.
This does describe what a basic good stroke looks like, but it doesn’t describe why. The reason you don’t bend your arms at the same time as your legs is due to power transferability. Sometimes, when an athlete hears “lean back and bend your arms,” they understand it as “pull!”
But during the leg drive, the main responsibility of your arms and back is to stay tight and transfer as much power from your legs to the handle as possible.
I like to think of the “slight lean back, then a bending of the arms to finish the movement” as just that—a finishing of the movement, allowing your residual energy from the leg drive to continue and not just stop at your waist.
Coach’s Tip: Sometimes athletes put too much attention on having a LONG stroke. Yes, the longer your blade is in the water or the longer you’re pulling on the handle, the more power you get. But this kind of distance is actually determined by your height and leg length, not by how far you can lean back and “PULL” the handle to your throat. This is a totally unnecessary method for a rowing machine, since you can’t fake being taller.
. . . And Your Return
Your catch was perfect, your leg drive powerful, and everything was SUPER tight, so that’s it. You’re done. Not so fast (per Lee Corso).
The return to the start position can be thought of as the beginning of your next stroke and if you’re not careful, it’s a place you can waste a lot of energy.
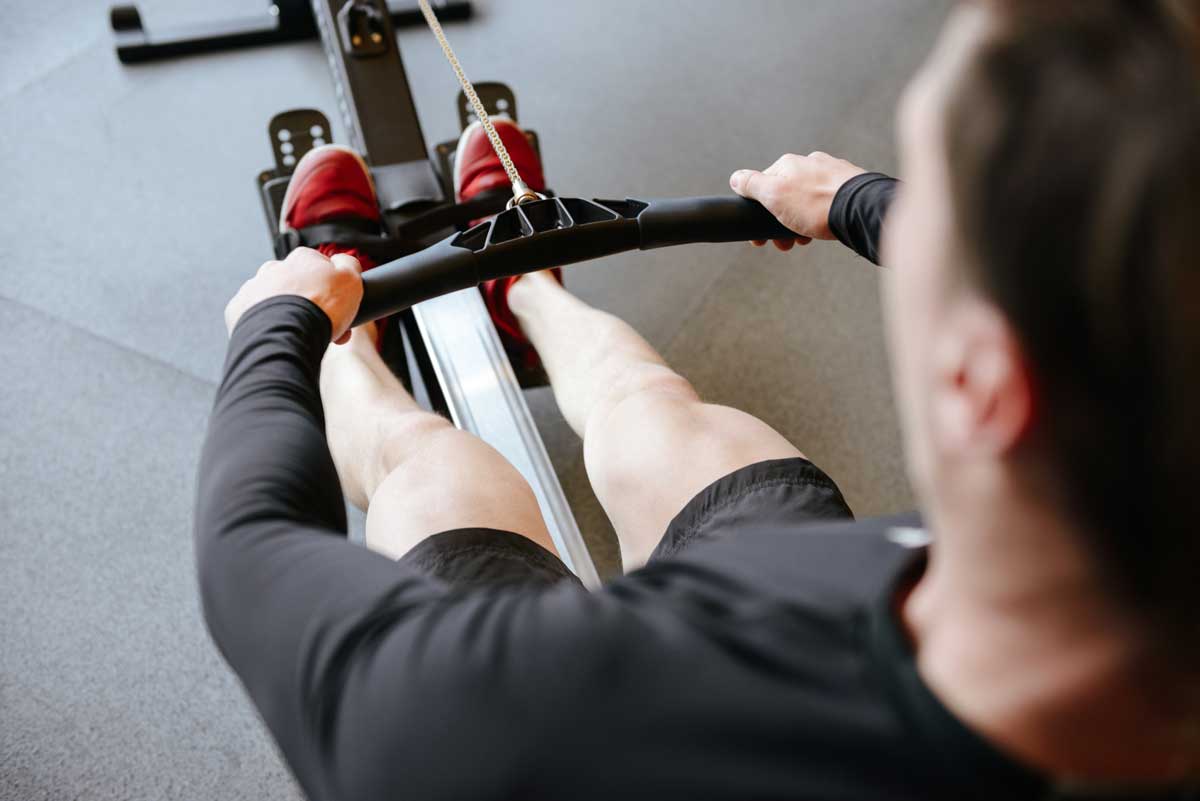
Make sure the return path of your handle is as short as possible. What is the shortest distance between two points? I can tell you it isn’t going up and over your bent knees.
Keep your knees straight while you unbend your arms, lean forward so that handle is now past your knees and then bend your knees. This might not seem like a big deal for one stroke but over the long haul it makes a HUGE difference.
On the water an inefficient return to the starting position with the oar going up and over your knees is obvious as your blade hits the water and the entire shell (boat) tips to your direction. Then everyone else lets you know you’re an idiot.
One more quick tip on the return: watch your knees.
Usually an inefficient return involves the knees coming together. Your knees need to be in line with your feet before every stroke, so it takes power from your technique if you have to constantly readjust that alignment.
Again, not a big deal with one stroke, but 1000? If you struggle with this, have your coach (or a buddy) put their fist between your knees so you have to work to not touch their fist. Eventually this should become an unconscious part of your stroke.



DOWNLOAD
trainheroic’s
free APP
Rowing strategy
A lot of rowers feel they need to stick to one course of action during a race when the truth is the opposite. Adjusting your stroke rate and speed intelligently will net you the most power for the least amount of work.
When a strong rower loses power but maintains the slow stroke rate they started with, they lag behind. Similarly, when a less powerful rower shoots out with a high stroke rate and tries to maintain it, they eventually lose steam and slow down, too.
I suggest you start out with a balance: a good powerful stroke and a moderate to low stroke rate. When you start to lose power, focus on increasing your stroke rate with a faster return to the start position.
It’s important NOT to focus solely on a faster knee bend, but rather a faster return with the perfect form discussed earlier: “a straightening of the arms, followed by a slight lean forward, and then a bending of the knees to return to the catch”. I like to cue athletes with “fast hands” so they waste less time holding the handle near their torso.
Coach’s Tip: A quick return comes down to a conscious activation of your hamstrings and hip flexors to assist in getting that seat back to the catch position. Usually this is an automatic rowing movement, but when your drive power decreases and you need to shift focus to your stroke rate and return, your hamstrings are still fresh enough to help out.
Stroke Rate & Speed
Even though a powerful stroke is probably the single most important factor in determining your speed, stroke rate is a close second.
Your stroke rate measures how many strokes you pull in a minute. A not-so-powerful individual with a high stroke rate can be just as fast as a more powerful rower with a slower stroke rate.
Once you’re on the water, a few things (not counting teamwork) affect your speed:
- How hard you move the blade (the oar) through the water
- Your stroke rate
- The size of the blade or oar
Some of these things can also aid you on your indoor rowing machine. Plus, in this setting, you don’t have to worry about teamwork and balance.

Get to know your rowing machine
Few things are more motivating than having results. If you run a 5K in 28 minutes, then you run it 6 months later in 21 minutes, that’s progress—proof that you’re fitter than you were. If you’re like me and you like measuring progress, it’s important to measure apples to apples and not apples to oranges.
The best way to do this is to make sure the equipment you’re using is the same and try to eliminate as many variables as possible. If you’re in a commercial gym setting with lots of indoor rowers, the data you get today might not be the same data you get tomorrow. All Concept 2 rowers are not the same and it usually comes down to maintenance and damper setting.
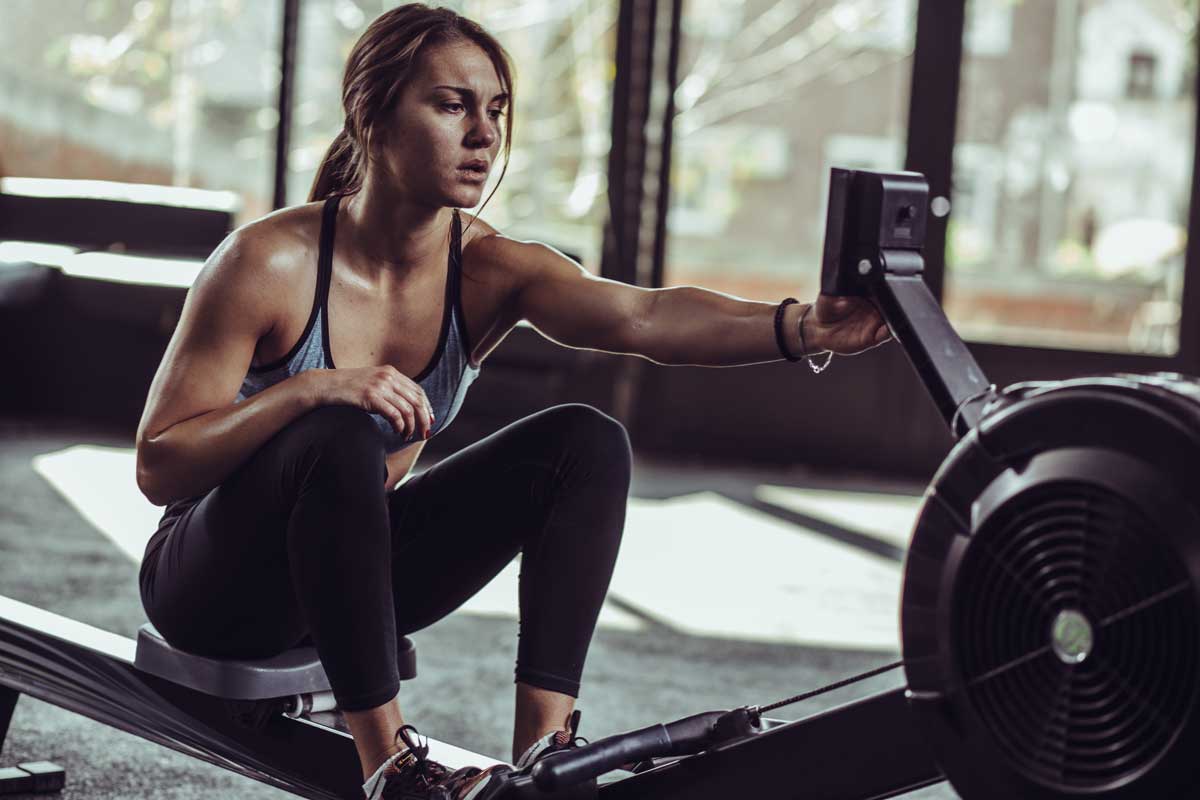
The damper is the adjustable lever on the side of the fan that opens or closes to allow more or less air into the rower. Think of the damper as determining the drag factor and the size of your oar. If you were on the water with just a stick, you wouldn’t displace a lot of water, but you sure would be able to move it fast with almost zero resistance.
But if you had an oar with a big flat 4×4 square piece of plywood attached to it, you’d be able to displace a TON of water and your boat would shoot through the water with every stroke. That is if you’re able to move it at all. The point is: your damper setting makes a difference. Use it wisely.
Adjust & Calibrate
Without getting too deep in the weeds here, I recommend adjusting or calibrating your rower every time you get on it unless you know it’s the same machine. Even though the damper may be set to 5 every time, the rower could be dirty as hell and blocking a ton of air from getting in.
To adjust for this, open your damper by moving it down to a 3, 2 or 1, then:
- Hit the “Menu” button to turn it on
- Click “More Options”, then click “Display Drag Factor”
- Do 5-10 strokes with good form but not all out effort. You’re looking for consistency.
I don’t want to tell you what to look for or what number your damper should be on, just know that if you have your damper on 5 and your drag factor says 150 after 10 strokes, the next time you use a rowing machine you should set it up properly with this same drag factor.
The indoor rower measures your fitness
The rowing machine is a low-impact, easy-to-learn, impossible-to-cheat cardiovascular machine. Athletes should love the results it brings and coaches should love the versatility. I hope after reading this blog, you walked away with a couple of tidbits you can use with your training.
Related articles
Slow Reps vs. Fast Reps
You’ve probably noticed that some people in the gym tend to perform their reps as fast as possible, whereas others take a slow and controlled approach. But which is better? Dr. Andy Galpin is a Professor of Kinesiology at the Center for Sport Performance at California...
How to Do Leg Extensions Without a Machine
Short shorts are the new stinger tanks. Rocking those big tree trunks with canyon deep cuts is so hot. Leg extensions are a bodybuilding staple—they isolate your quads, the front-facing muscle group of your thighs, by flexing (bending) and extending (straightening)...
Tried-and-True Methods to Fix Plantar Fasciitis
What is Plantar Fasciitis? If you’re new to running or returning to it after a break, you might have been blighted by plantar fasciitis, a fancy name for an annoyingly common foot problem. It’s when the band of tissue that connects your heel to your toes (the plantar...


Join the community
Sign up for the latest training news and updates from TrainHeroic


About TrainHeroic
Support
Made with love, sweat, protein isolate and hard work in Denver, CO
© 2021 TrainHeroic, Inc. All rights reserved.


