Perfect Your Squat Form
Joseph Lucero, owner of Harvesting Strength, is a powerlifter and strongman coach with years of practical S&C experience in high school, collegiate, and professional settings. Here, he provides a thorough guide on the back squat and adjustments that address common struggles.


Change the Way You Train
Nothing Compares to the Back Squat
If you’ve been strength training for a while, you probably know about Tom Platz. If you don’t, time to pay attention, rookie!
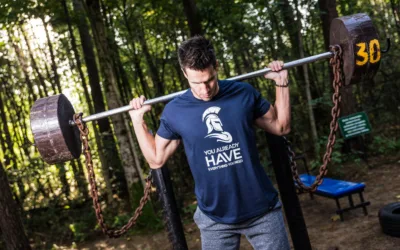
Tom Platz is an American bodybuilder known for his leg development and use of the back squat.
A quote by Tom mentions:
“Nothing compares to the back squat. Why do an inferior movement like the leg press when you can do the back squat?”
No disrespect to the leg press. I think every movement has a time and a place! But if you are looking for a movement to improve your leg density and/or leg strength, look no further than the back squat.
The back squat is a multi-joint movement that is metabolically demanding, so it’s not for the faint of the heart.
With a few suggestions and tips on the back squat, your leg day will reach new levels with a much more successful and enjoyable experience for building size and or strength!
Squatting Anatomy: It’s All About Those Hips & Knees
It’s important to note that the idea of the squat is to go from depth to standing, meaning you extend both the hip joint and knee joint.
You need to consider which muscles aid the barbell squat with performing extension, specifically in the hip and knee joints.
For the hips, you’re mainly working your gluteus maximus, with a little help from the gluteus medius and gluteus minimus.
The maximus helps with the extension of the knee, while the medius and minimus help stabilize the upper leg for better mechanics.
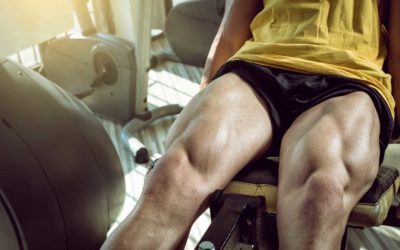
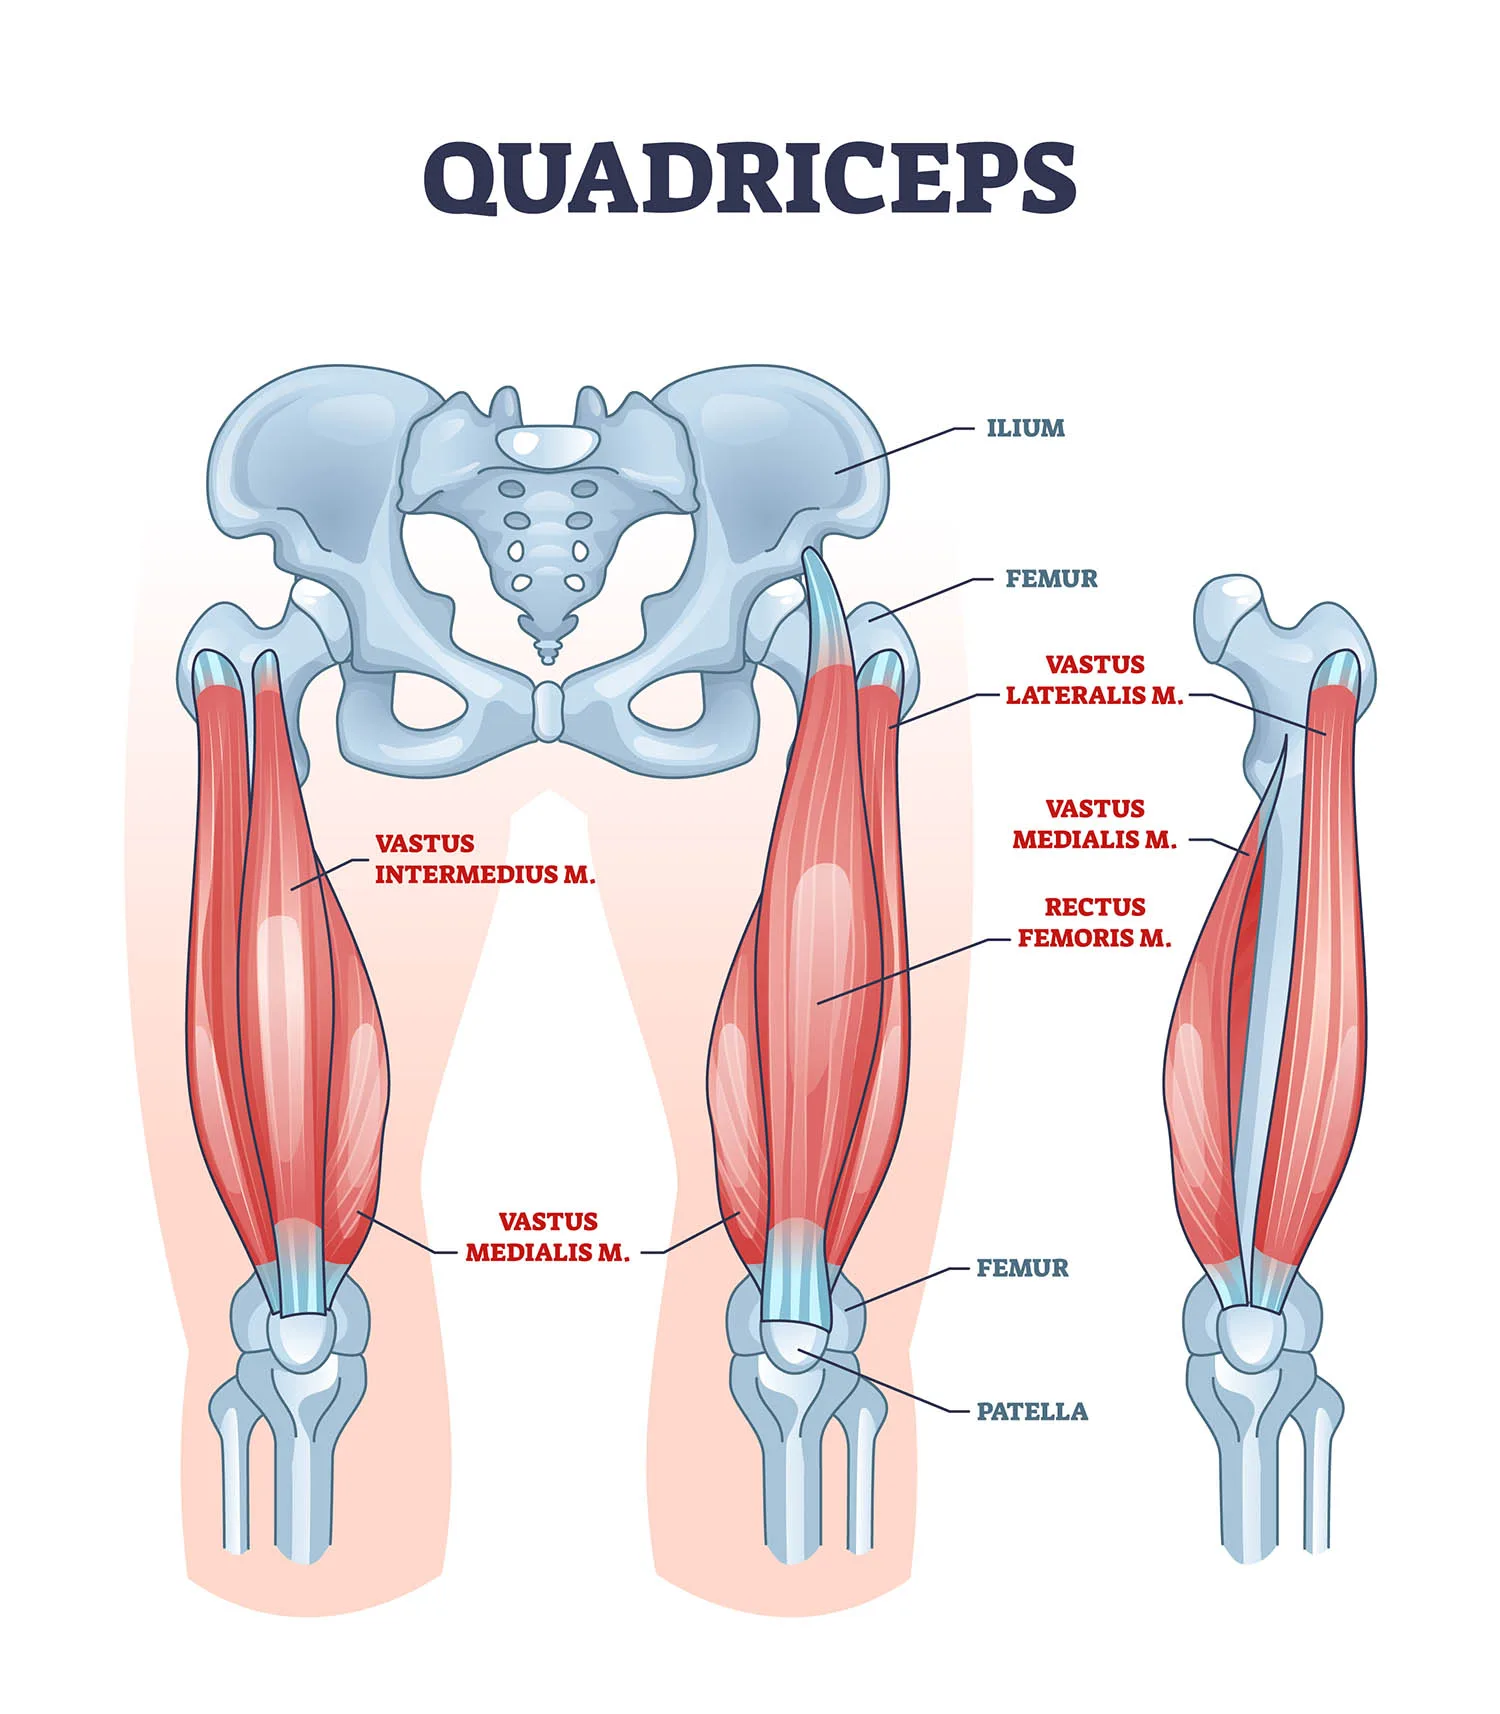
For the knee joint, you’re working the various fibers of the quadriceps muscles.

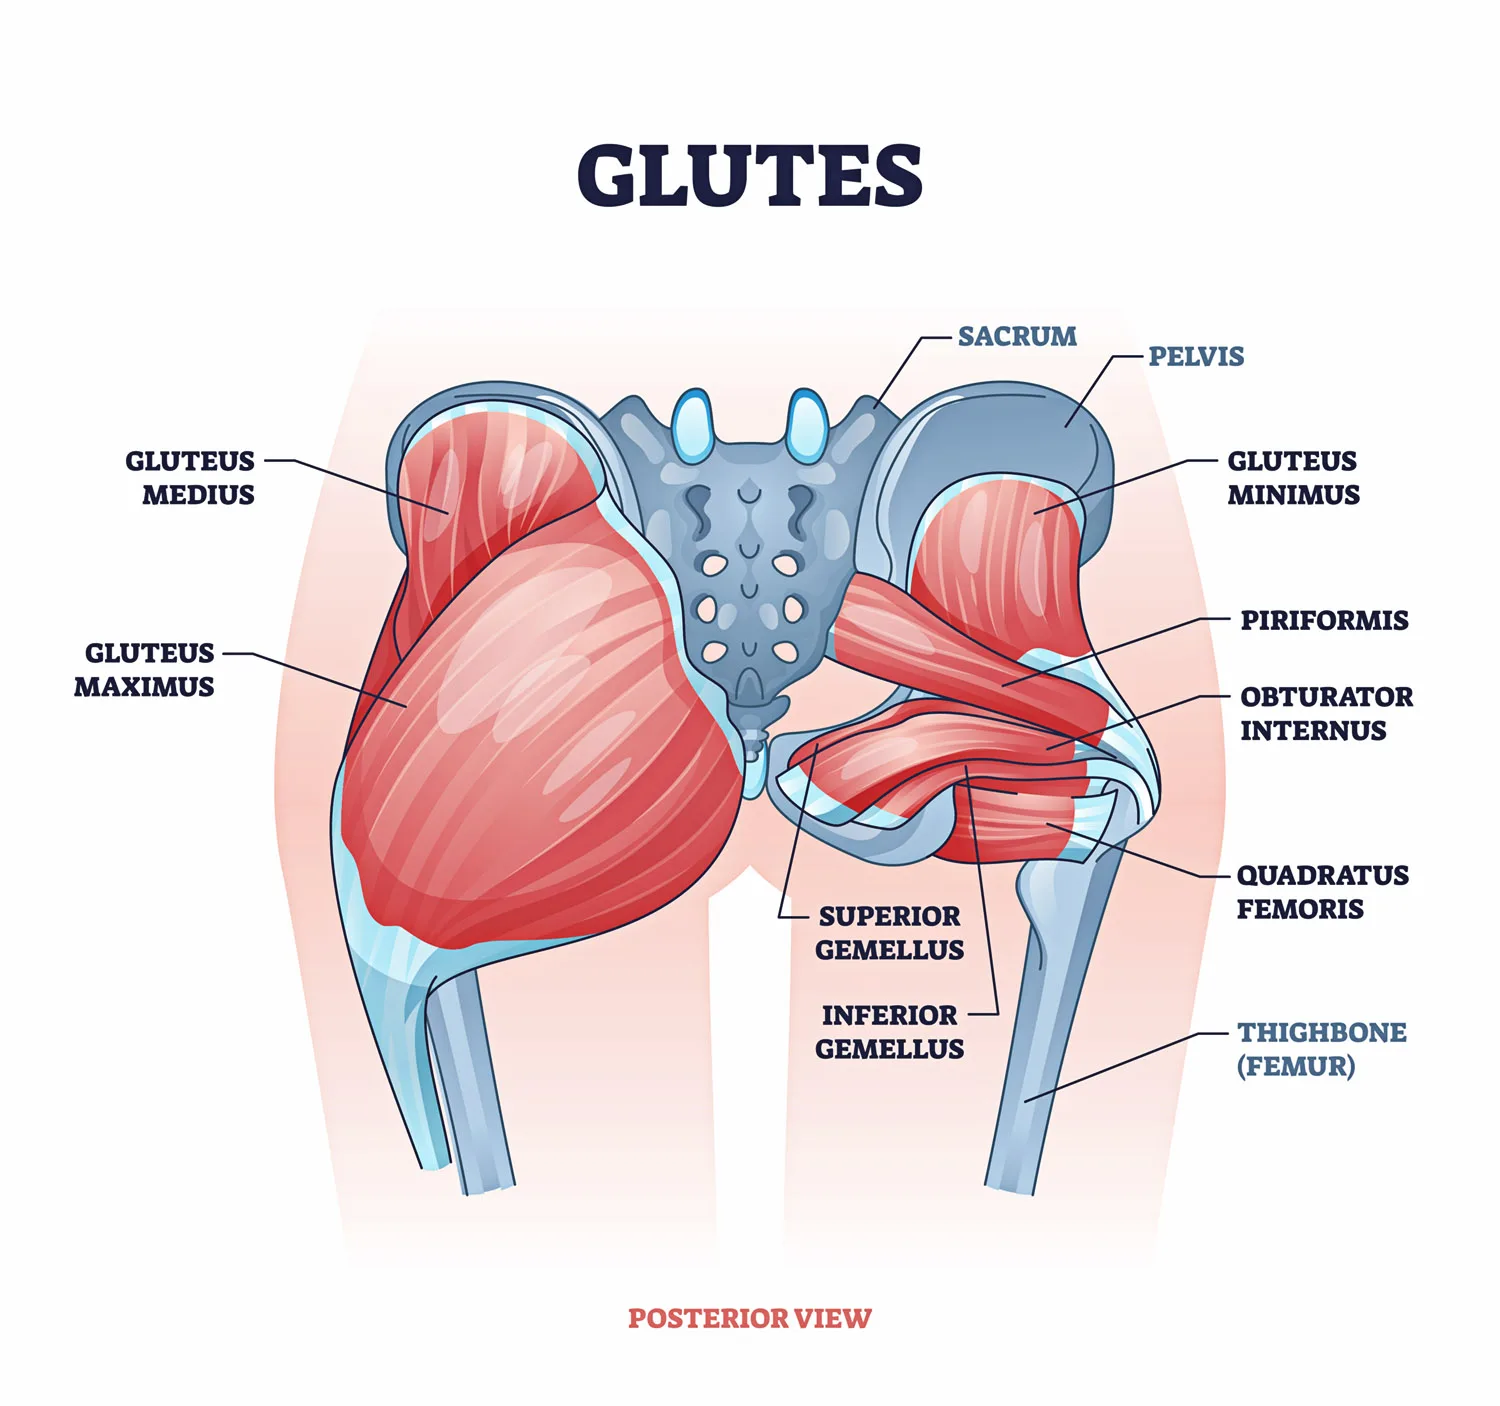

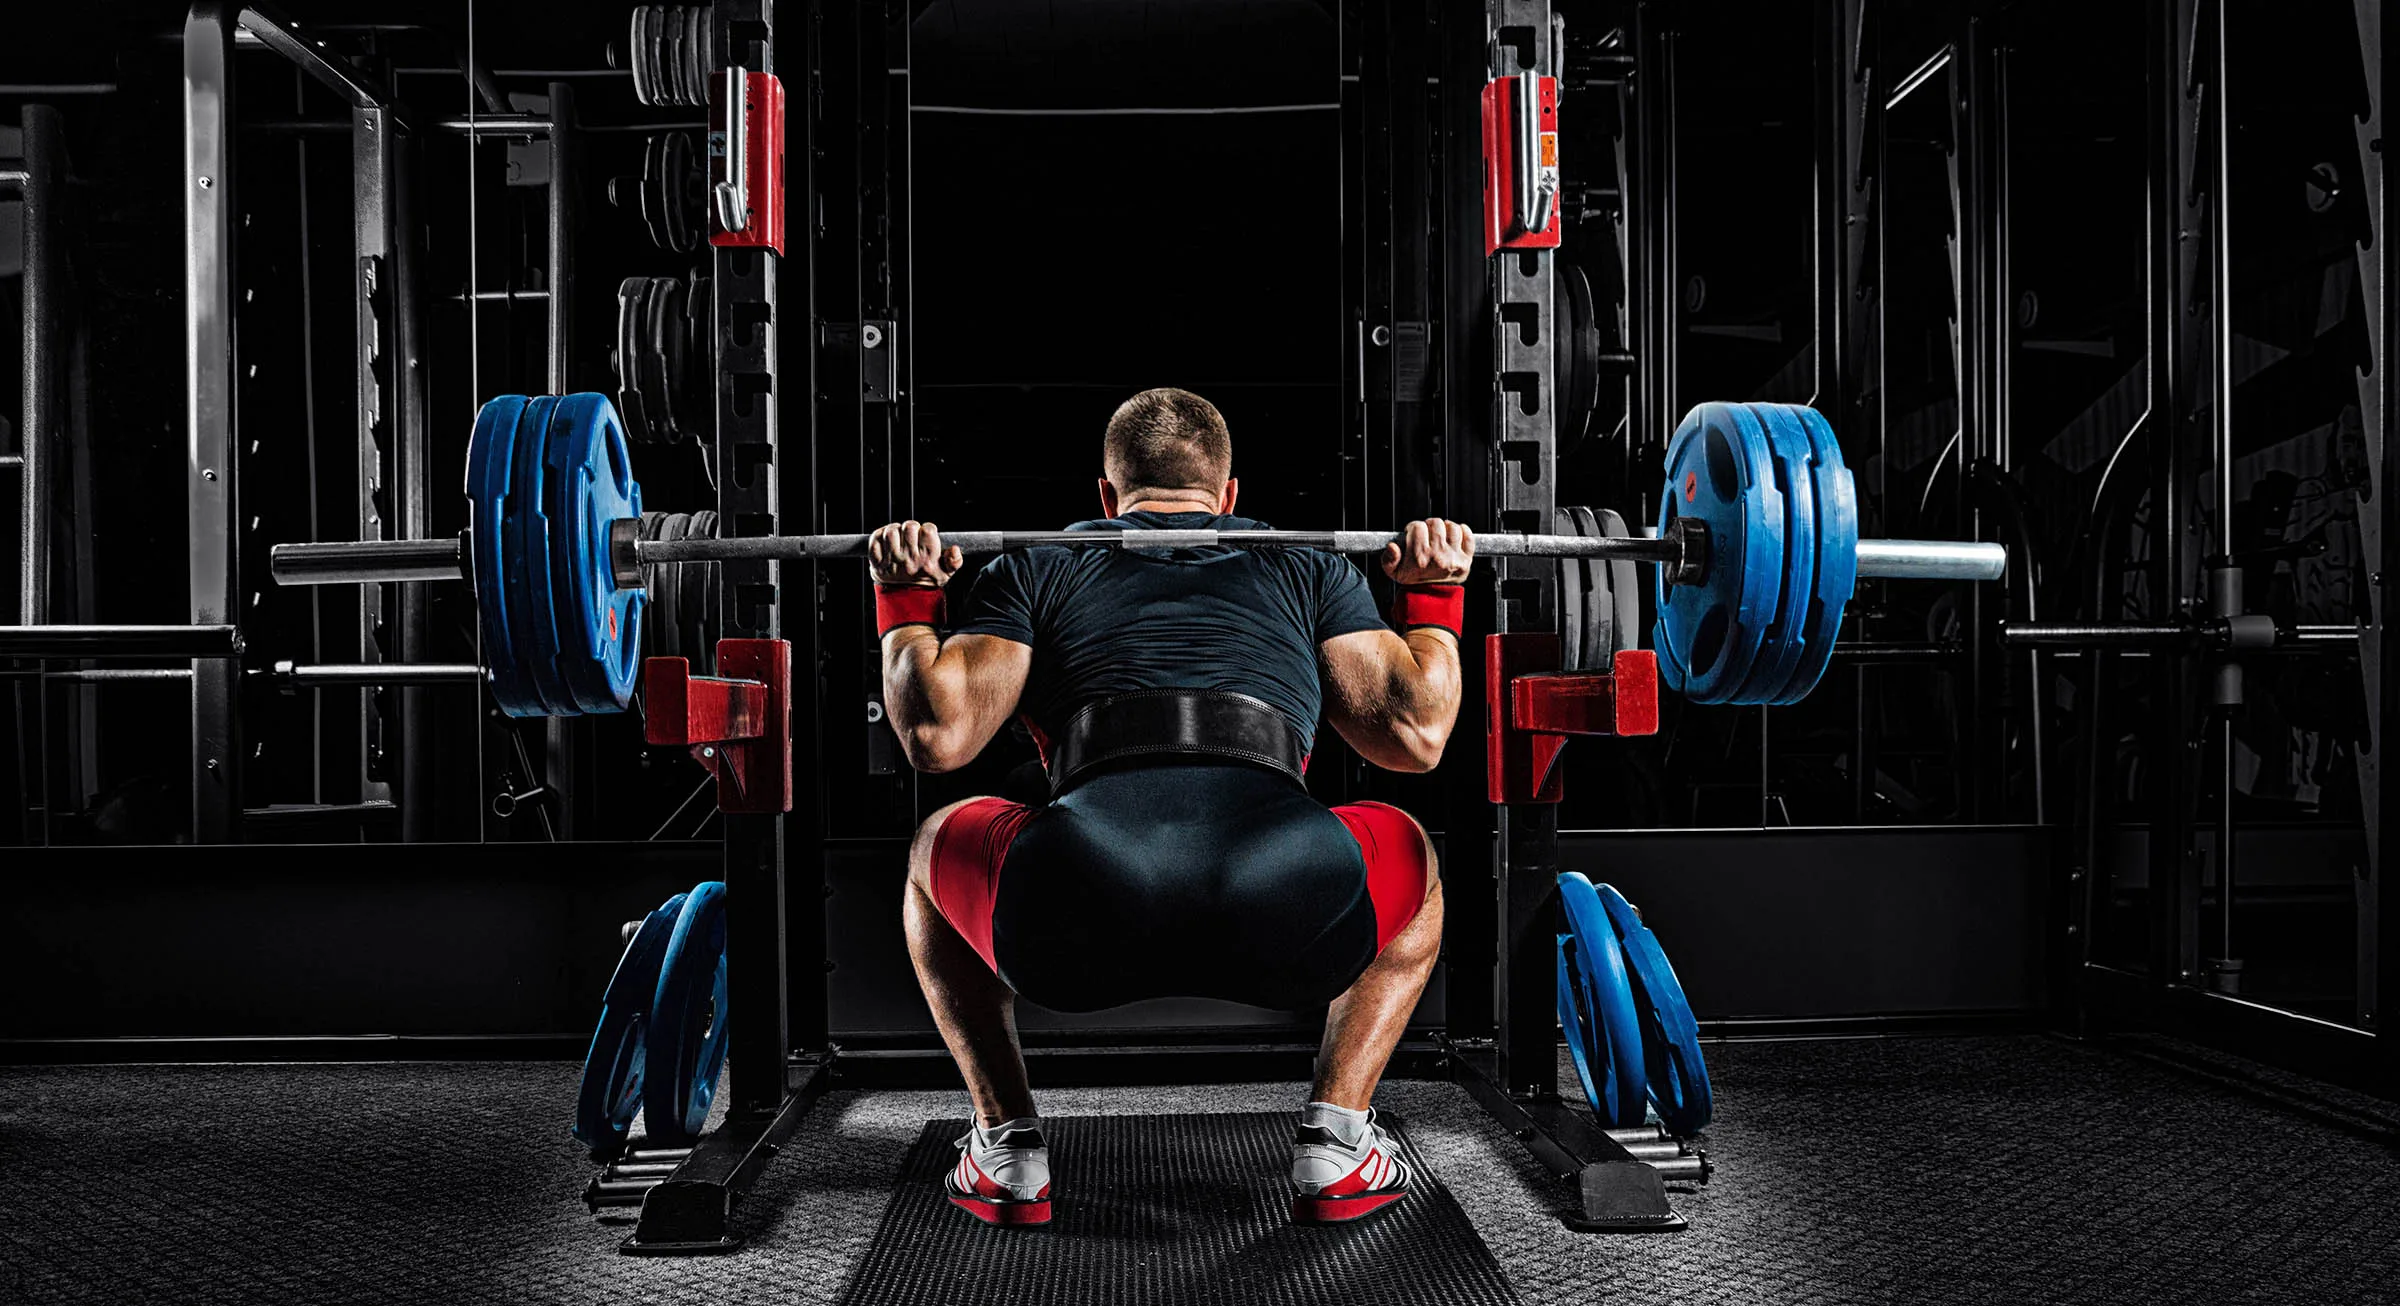
First, you need to perfect your form before making any adjustments.
How to Back Squat: Performance Guide
After working with many athletes and understanding common mistakes, I developed a step-by-by guide that ensures perfect form through every part of the lift.
Getting Set Up
1. Set the barbell to shoulder height. When you grip the bar, position your arms parallel to the ground.
2. Use a grip that’s compatible with your shoulder mobility. If you grab the bar too narrow, it could stretch you into a position that’s bothersome. A narrow grip is also the reason your elbow and or biceps feel fatigued and exhausted from the barbell squat.
I suggest you start shoulder width apart, or perhaps a fist size wider.
Coach’s Tip: If you continue to struggle with the grip of the bar, try these banded dislocation exercises to help you improve mobility and ability of the shoulder and the chest:
Bar placement with the back squat can have a major impact on the displacement of resistance for this exercise.
Those who use a high bar tend to become more “knee” dominant while those with a low bar are more “hip” dominant. Do whatever fits your goals.
4. Once you establish either a high bar or low bar, it’s time to “create a shelf” by retracting your scapula and keeping your upper back tight.
This secures the bar to avoid form breakdown. In addition to the shelf, keep your elbows underneath the bar to secure it even more and promote better posture.
5. After securing the bar, unrack the weight. Get your feet beneath your hips, lift the bar off the j-hooks, and two steps back.
6. When stepping backward, take a small step initially. The second step is only used to adjust your stance for the squat.
Do not continue to step any further back. The further you step back, the further you have to bring the weight back to the rack.
7. Stance has an influence on where resistance is displaced.
If you want to be more quadricep dominant, choose a closer stance.
If you’re looking for more hip engagement, stand wider and perhaps place your toes outward. (This technique is commonly used by athletes who compete with static strength, such as powerlifting and strongman.)
8. Once your stance is set, get your elbows underneath the bar to support the load.
Elbow placement helps with regulating posture and improving your ability to secure the load of each rep.
To secure the bar, place your elbows underneath the bar and imagine your elbows pointed down to the ground. If your elbows move backward or do any jerking motion besides pointing downward, the weight might not be secure. This might lead you to lose posture and control of the lift.
9. When performing the squat, some suggest facing forward or facing upward. Ideally, to flatten the spine and promote better posture, it’s said to face ahead and slightly downward 45 degrees.
This type of head placement flattens the cervical spine (your neck’s vertebrae). This position of the upper vertebrae influences the rest of the spine to stay flat and more rigid throughout the lift.
Performing the Lift (Descending & Ascending)
10. Before you begin with the descending phase of the squat, it’s best to “brace your core.” To do this, take a deep breath through your belly and increase the pressure in your abdominal cavity.
This makes your lower back more rigid, meaning tighter and with better posture. Bracing your core works much better in conjunction with a lifting belt as well.
11. When bringing the bar downward, make sure your hips move downward and slightly back to help displace weight on the “midfoot.”
This means bringing the resistance downward and aligned with the midfoot so the weight is evenly displaced between the knee joint and hip joint.
12. The last phase of the lift is ascending with the weight to lockout. The heavier the load, the more likely you’ll experience a “sticking point” where the movement slows down and you get weaker.
As you continue your working set, strength diminishes as well as technique. Use a few key points below to “fix your squat” to get the most out of your lift (and prevent injury).
Fix Your Squat Form
Adjusting and fixing your squat form is paramount to improving performance.
Common struggles I see among athletes are bad posture, properly descending, locking out, and valgus knees (knees shifting inward).
If any (or all) of this sounds like you, check out these key points and variations to improve your ability back squat:
If you struggle with bad posture:
Variations such as the goblet squat, wall-facing squat, or cross-armed front squat help with poor posture. Lift submaximal loads with the perfect form as a either warm-up or a focus on squat day to further improve your mechanics.
If you struggle with the descending motion:
The descending motion of the squat requires good posture and the ability to displace weight on your midfoot.
If you struggle with this, using a movement such as the “box squat” teaches you to sit back into your hips and displace the load more properly.
Another variation that helps with the descending motion is a tempo-based squat. Bring the weight downward slowly (within 5-6 seconds) and focus on aligning the bar correctly on the midfoot.
If you struggle with lockout:
The dead squat (aka Anderson squat or pin squat) improves the last half of your lift.
Set the pins at your sticking point. You can either go for a heavier weight to improve your mechanics, or you can use a lighter weight to learn how to be forceful off the pins and encourage explosive power through your sticking point.
If you struggle with valgus knees:
Valgus knees are the inward motion of your knees during the ascending motion of the lift.
If your knees shift inward and hit a sticking point on your ascension, you might lose the lift.
The best way to fix this is to strengthen the muscles that regulate the outward motion of the knees, aka the “abductors.” Many athletes do movements like clam shells or the abduction machine, but it’s important to work your adductors as much as your abductors.
Having a balance of strength between these two opposing actions harmonizes the lower body for better squatting mechanics in the future.
Just as Tom Platz said, really nothing compares to the back squat when looking to develop the strong, beefy legs of a beast.
Follow this performance guide, make any adjustments needed based on your struggles/goals, be consistent, and go get them gains!
Find Your Perfect Training Plan
Sometimes all you need to reach your destination on your fitness journey is an expert guide. We've got you covered. Browse from thousands of programs for any goal and every type of athlete.
Try any programming subscription free for 7 days!
Related articles
Slow Reps vs. Fast Reps
You’ve probably noticed that some people in the gym tend to perform their reps as fast as possible, whereas others take a slow and controlled approach. But which is better? Dr. Andy Galpin is a Professor of Kinesiology at the Center for Sport Performance at California...
How to Do Leg Extensions Without a Machine
Short shorts are the new stinger tanks. Rocking those big tree trunks with canyon deep cuts is so hot. Leg extensions are a bodybuilding staple—they isolate your quads, the front-facing muscle group of your thighs, by flexing (bending) and extending (straightening)...
Tried-and-True Methods to Fix Plantar Fasciitis
What is Plantar Fasciitis? If you’re new to running or returning to it after a break, you might have been blighted by plantar fasciitis, a fancy name for an annoyingly common foot problem. It’s when the band of tissue that connects your heel to your toes (the plantar...


Join the community
Sign up for the latest training news and updates from TrainHeroic
For Coaches
Support
Made with love, sweat, protein isolate and hard work in Denver, CO
© 2023 TrainHeroic, Inc. All rights reserved.


