The Ultimate Guide
to Shoulder Workouts
Intro
Your shoulders are the crux of your upper body. And simply put, big shoulders are sexy.


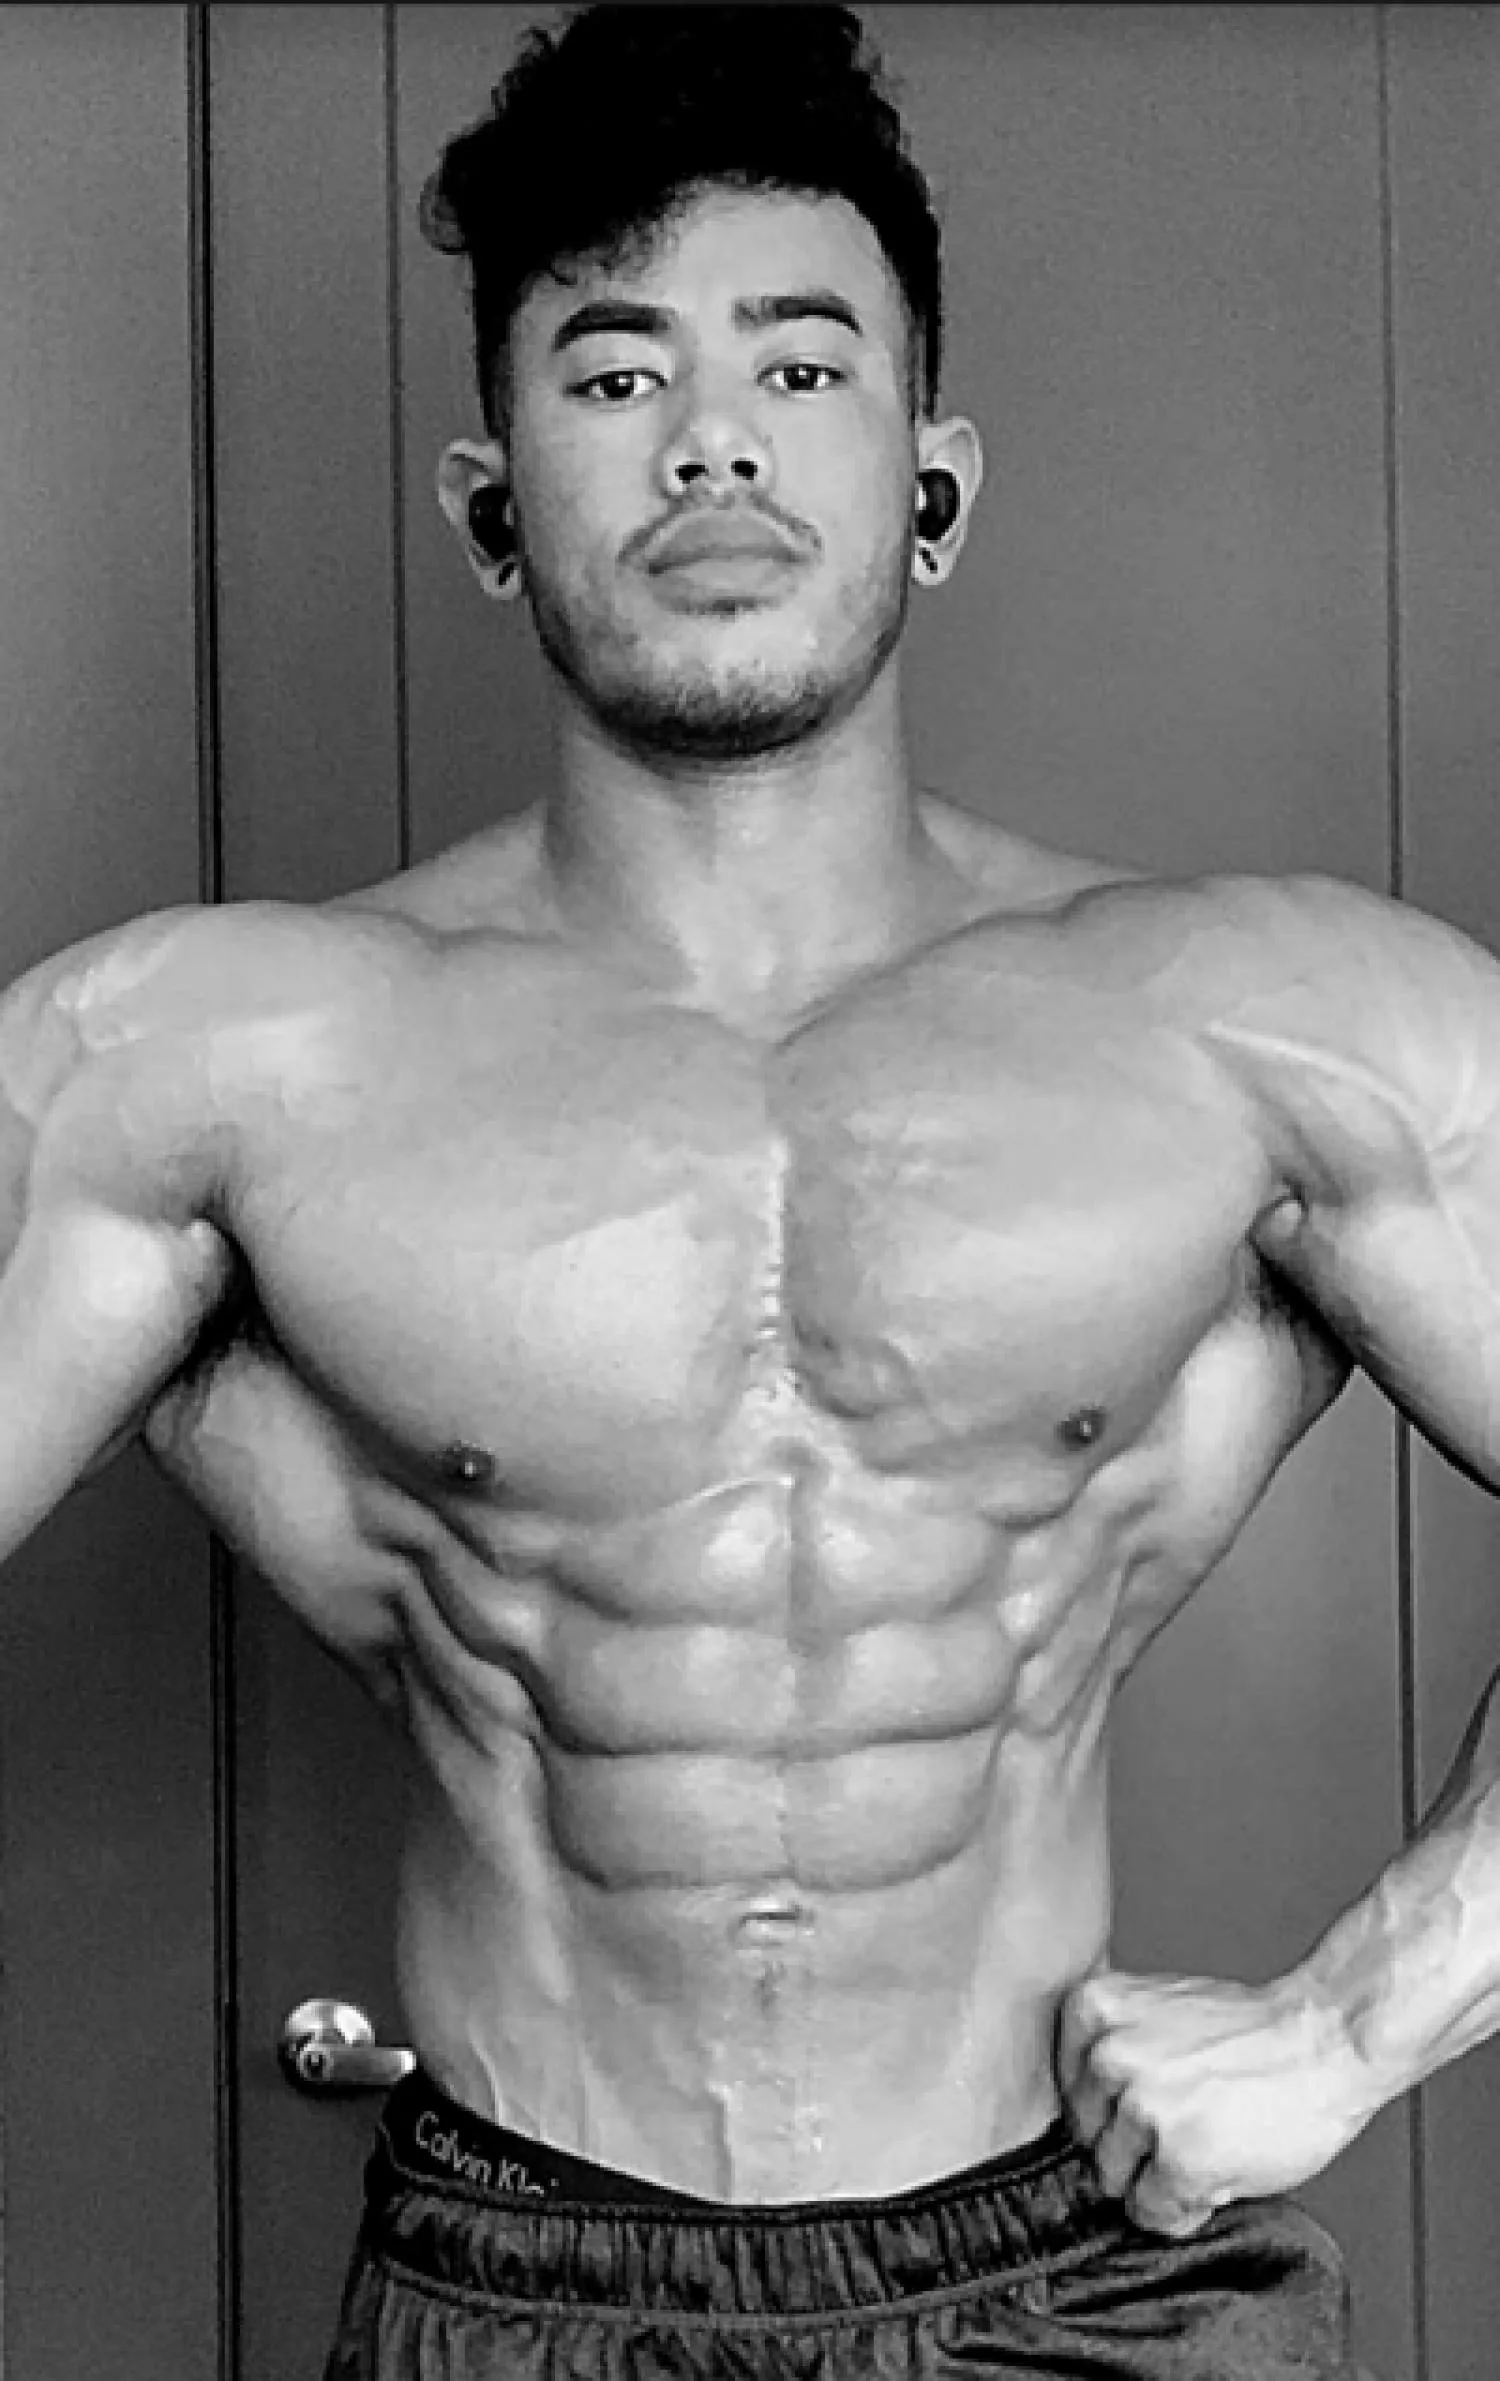
Having massive boulders frame your physique usually means the difference between an L or XL shirt size. Women who lift and make the effort to develop nice delts give off the baddest b*tch vibes. Are yours feeling small yet?
Not only do you want your shoulders to be full and muscular, but they need to be functional and mobile.
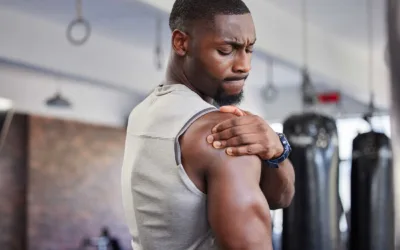
Pain free is the name of the game here, since your shoulders are responsible for stabilizing your upper trunk and articulating your arms in different directions. This makes them susceptible to a host of injuries. But healthy rotator cuffs and strong delts protect the complex shoulder joint from tears, impingement, and other weird stuff that can cause shoulder pain.
Developing your chuck meat can also improve your gross/rounded posture by drawing your t-spine back. For weightlifters, strong delts assist with big pulling moves like cleans and deadlifts. And if you’re into strongman or powerlifting, good luck doing heavy farmer carries or log presses with little baby shoulders.
If you’re looking for the ultimate guide to getting wider, stronger, cannonball-pumpkin delts to hold up all your responsibilities, you’ve found it.
Shoulder Anatomy & Muscles Worked

The shoulder is a complex ball-and-socket joint of interlocking parts that need the capacity to move in a wide range of directions.
The most visible muscle of the shoulder is the triangular, three-headed deltoid.
The deltoid comes in a set of three sections:
- Front (anterior)
- Side (medial)
- Rear (posterior)
The entire muscle is responsible for raising your arm, but the front delts help more with pushing movements like bench press, while the rear delts do a little more pulling like with rows. It’s common to see overdeveloped front delts and underdeveloped rear/mid delts in naive gym bros who do a ton of bench press.
Your delts are also responsible for making sure your arms don’t dislocate when you carry things. When you feel the sides of your shoulders burning during heavy farmer carries, they’re helping to stabilize the weight at a safe distance from your body.
Fun fact: the name “deltoid” originates from the muscle being shaped like the Greek capital letter delta (Δ). People love naming things after how they look.
The best shoulder workouts hit all three heads of your delts along with your upper trapezius muscles at the top of your back, your levator scapulae at the sides of your neck, and oftentimes (though not always) your biceps, triceps, and pectoralis major/minor. These supporting muscle groups will help give you a solid three-dimensional shoulder bulge.

So basically, you use them all the time. Every day, even for simple stuff like making your morning coffee.
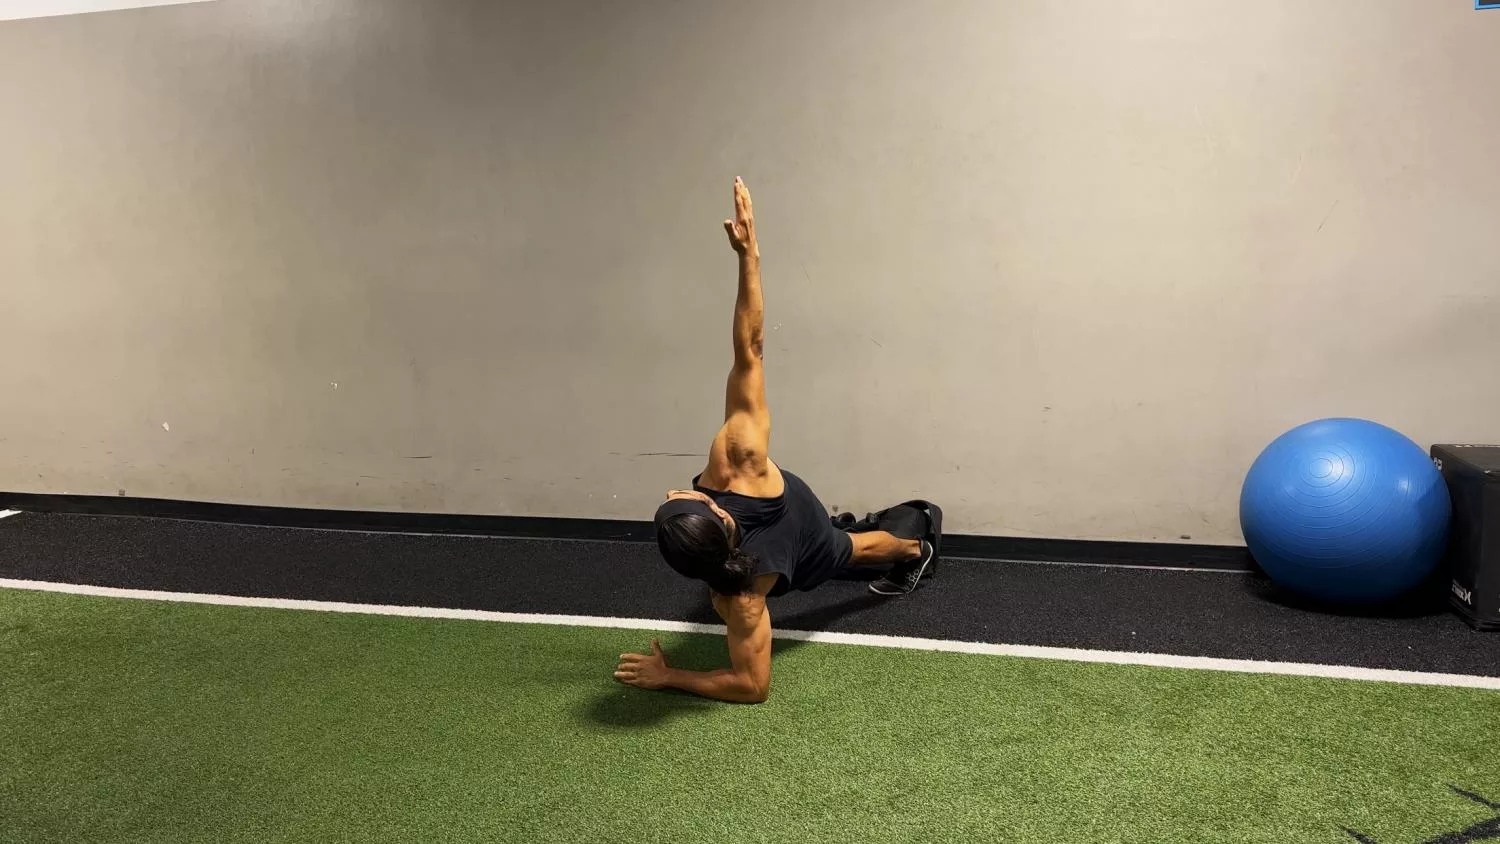
Your rotator cuff is responsible for (duh) rotation, but also stability, meaning everything here should be healthy enough to move weight if you want to build strong shoulders. Remember: avoid using heavy weights for rotator cuff warm ups and be sure to practice stabilization techniques like crawling and Turkish get ups often.
Injury Concerns
Strengthening your shoulder girdle helps protect it from injury, since the intricate shoulder joint can be prone to impingement and tears. The delicate labrum tissue that cushions the “ball inside the socket” can tear with overuse and age. The bones in the joint itself can have abnormalities or asymmetries that make some overhead positions difficult. (Chances are you have one shoulder that’s a little crankier than the other.)
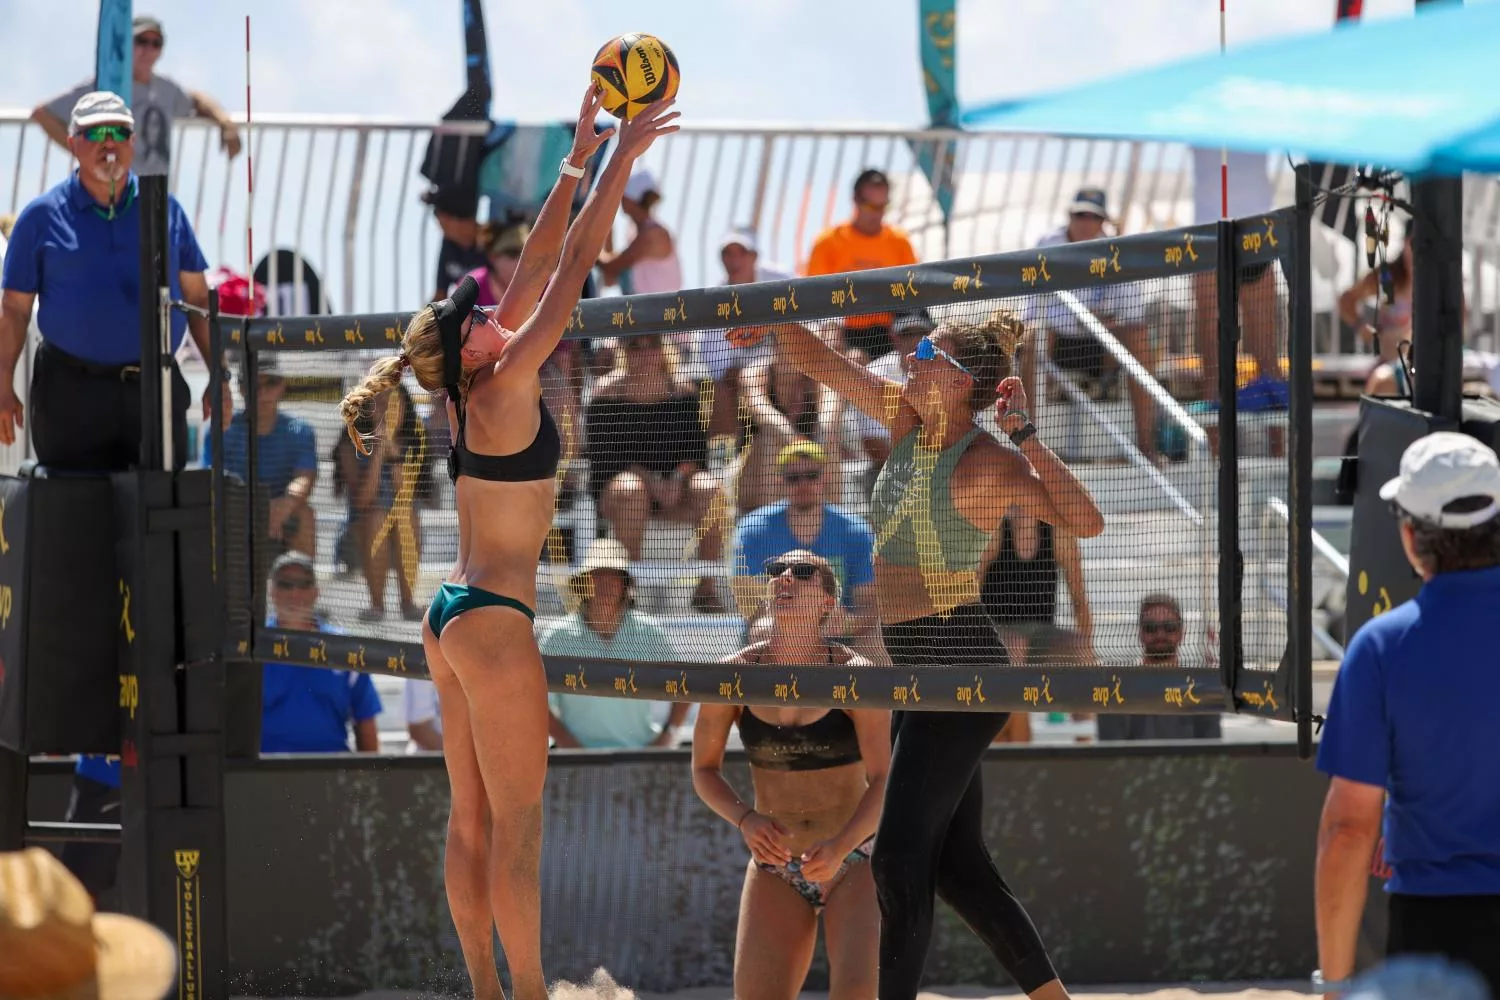
Gymnasts typically put a lot of effort into bulletproofing their shoulders to support their own body weight in a huge range of positions. And Olympic weightlifters need both strength and mobility in their shoulders to hold crazy poundage overhead. Whatever your sport or goals, it pays to take care of your rotator cuff.
Ultimately: if you experience sharp, persistent pain, see your physical therapist.
Tightness or stiffness in your shoulders can be a sign of something deeper or a common indication that you need to put more effort into your warmups, mobility and soft tissue work.
Easy Shoulder Warmup Exercises
If your shoulders are otherwise healthy, here are some good prehab movements to get them nice and warm for a workout:
PVC External Rotation Stretch
Incline Prone Y Raise
Shoulder Controlled Articular Rotations
PVC Pass Through
Bench T-Spine Mobilization
Upgraded Sleeper Stretch
Coach’s Tip: There’s actually a whole fitness product geared towards helping you get healthy shoulders. If your gym has a set of Crossover Symmetry bands, use them! They usually come with an instruction guide. Even just a few sets to warm up or cool down your rotators can make a huge difference.
How-To Guides to the Most Effective Shoulder Workouts
Simple Tri-Set Shoulder Workout
Complete 3 sets of 12 reps each, going in order:
Unilateral Overhead Press Variations
Landmine Press
The landmine press is one of my go-to exercises for athletes who lack overhead mobility in their shoulders. You can set up the landmine anywhere that allows you to put one end of a barbell on the floor or against a wall without sliding (wedged between two plates should work).
If you have a landmine attachment, that’s perfect, but you can definitely do this movement without it. Once you have the bar set up and the weight added to the top end of the bar, you’re ready to lift.
Start with a standing split-stance position. Whatever arm you’re working first, the opposite leg is in front.
1. Brace your core, squeeze your glutes and keep your hips squared, meaning don’t let them rotate.
2. Grip the top end of the barbell at shoulder-height with your wrist straight.
3. Push the weight up and forward, think about pushing with your elbow, not your hand.
4. Your arm will be inclined in front of you between 45-60 degrees
5. Don’t stop pushing when your arm is straight, give an extra push with your shoulder blades. Imagine you are reaching for the cookies on the top shelf at home.
6. With control bring the weight back down to the front of your shoulder.
Half Kneeling Single Arm Overhead Pres
This variation is great for building the skill of lifting overhead. Being in a half-kneeling stance will take the legs away from the movement, reducing the chances of you using leg drive to get the weight overhead. Your core works harder to stabilize your torso from bending to one side (lateral flexion) and you’re able to work on the mobility/stability of the shoulder complex individually.
I recommend starting with the less stable or weaker side first, and let that side be the guide. For example, if your left side is weaker and can only do 15lbs for 10 reps, your stronger side has to match that even if it can do more.
1. Grab a light-moderate dumbbell or kettlebell and take a half-kneeling stance with one leg in front of you (like a lunge). Push into the floor with both feet to grip the ground with your toes.
2. Slightly tuck your tailbone, squeeze your glutes and brace your core to prevent arching into your back or flaring your ribs.
3. Bring your DB or KB into a front rack position on the arm opposite your grounded knee.
4. Keeping a neutral spine, press the weight overhead by “punching” the sky with your knuckles, slightly rotating your arm so your knuckles are behind you.
5. Remember not to let your elbows flare out, keep them around 45 degrees.
6. Lift until your bicep is next to your ear, arm is straight, and shoulder blade is stacked.
7. Lower the weight back to your starting position.
Upright Rows
Points of Performance
Upright rows can be done with a range of equipment: a barbell, dumbbells, kettlebell, EZ-curl bar, or smith machine. We’ll use a barbell to keep things simple, but you can execute everything the same way with dumbbells, too.
Setup
Start standing with your feet between hip and shoulder-width apart. Hold your bar with an overhand grip down at your waist.
Grip: Wide vs. Narrow
Grip width preference is basically up to you. The general consensus is that a wider grip will work the side head of your deltoid while a narrower grip hits your traps and front delts a little more. Upright rows hit all three heads of your delts in general—whether you take a wider or narrower grip will change the focus of the movement only slightly.
Coach’s Tip: A super wide grip upright row looks suspiciously like a snatch grip high pull in Olympic weightlifting. And a narrow grip with a wide stance looks suspiciously like a sumo deadlift high pull.
Row
With a tight core and neutral spine, pull your elbows up toward the ceiling. Pull the bar up your body so it lands just under your chin or around the top of your chest with your elbows bent. You don’t need to raise the bar all the way up to forehead level. Keep your elbows higher than your wrists for the entire movement. Squeeze at the top, then return the weight to your starting position.
If you have to swing your torso excessively or “kip” with your hips, the weight is probably too heavy. Check your ego. Unless you’re doing Olympic weightlifting high pulls, upright rows are not intended to be a dynamic/explosive exercise.
Push Press
Points of Performance
Setup: Stance & Grip
Set your barbell in the rack at about mid-chest height—the same height you would use to squat. Find your front rack position by gripping the bar overhand, just outside shoulder width. Your forearms should be vertical, not too wide (avoid making a “W” shape with your body). Drive your elbows under the bar to the other side and let the bar rest across your shoulders, supported by the meaty heels of your palms. Your elbows should be pointing slightly in front of the bar. Keep your chest upright and hold tension in your shoulders so the bar doesn’t sag down. Step out of the rack with your bar and find your feet anywhere between shoulder and hip-with stance.
Dip & Drive
Take a breath to brace your core before initiating the lift with a movement called the dip and drive. Dip straight down by bending your knees and sitting slightly. The key for generating power from this position is to control the dip. Keep your torso upright. Don’t lean forward and let the bar travel out in front of you—that’s no bueno for your balance. And don’t dip too far down so it turns into a quarter squat, just a slight bend in the knees is all it takes. From the bottom of the dip, use your legs to drive aggressively into the floor and accelerate the bar upward. You’ll come up onto your toes a little if you’re driving hard enough.
Press
Good timing comes into play here. As you straighten your knees, push up on the bar with your arms until your elbows lock the bar overhead. Pull your head back and out of the way as the bar passes in front of your face, then bring your neck back into neutral alignment when the bar moves past your forehead. This way your bar path stays in a straight line over your midfoot for the whole lift.
Coach’s Tip:
Don’t let your knees re-bend once they straighten! That’s a totally different lift, the push jerk. Once your knees lock, they should stay in place. This is when most of the “work” is done—push hard with your arms and upper trunk to finish the press.
Receive
Bend your elbows and return the bar back to your shoulders with control. Tuck your chin again to move your head out of the way and use your legs to catch the bar with a slight bounce.
Kipping Handstand Pushups
Points of Performance
Setup
Find a wall free of distracting objects and with plenty of space. Be wary of any squat racks, nearby equipment, or gym friends who might catch a foot to the face. Place an ab mat or a gymnastic mat against the wall to cushion your head. Kick up into a solid handstand with your heels against the wall and your hands framing the ab mat. Engage your lats, keep your core tight, spine neutral (don’t let your low back sag), and drive your heels up the wall. You should feel like you’re “reaching” toward the floor or actively pushing the floor away from you. Look out and ahead, not down at the floor, to keep your neck neutral.
Lower
With control, bend your elbows and lower the crown of your head to the mat. Don’t lose tension and crash down or you’ll suffer the consequence of your bodyweight + your neck + gravity. The three points of your head and hands will create a tripod position (like three legs of a camera tripod). Your head is just for stabilization, not to completely support your weight.
Tuck Holding your tripod position steady, sit your butt back toward the wall and hinge at the waist, pulling your knees down toward your triceps. This is the tucked position where your kip starts. It kind of looks like a waiter in an upside down squat holding a tray over his head.
Explode & Press The actual push up happens in a series of quick, fluid movements. From your tucked position, launch your feet back up the wall, driving your heels toward the ceiling. The second your hips reach full extension and your body hits a point of weightlessness (Sound familiar? Like all Olympic weightlifting.), use the momentum to press into the floor and extend your arms overhead.
You’ll land back in your original handstand position. The goal is to harness the power from your explosive hip extension to take some of the work away from your core, arms and shoulders. In a strict handstand push up, you don’t get any help from your legs. Try maximizing your hip power by pulling your pelvis in toward your belly at the bottom of your tuck instead of leaving your hips on the wall.
Sample Shoulder Workouts From Our Top Coaches
Nasty Shoulder Finishers
1. Do your warmups!
2. Aim to train your heaviest weights FIRST on the compound movements like overhead presses, then use the following as finishers.
3. Pick a weight you can do to failure. Grind out extra reps if you can.
4. Proceed at your own peril.
Simple Burner Combo
- :30 rest between sets
- DB Lateral Raise + DB Front Raise
- Each combination of the two movements counts as one rep!
Soreness Level 7/10
- No rest between sets
- 12 DB Reverse Flys
- 12 DB Upright Row
- 10-12 DB Lateral Raise
- :15 DB lateral raise hold
Not For the Faint of Heart
- TABATA Strict Press
- Empty Barbell
- 8 Rounds of :20 work, :10 rest (4:00 total)
Do as many strict presses as you can in 20 seconds, then rest for 10 seconds. Keep the bar in your front rack for the 10-second rest. Don’t set it down the whole time. Score is total number of reps. Keep track of this score and try to beat it in two weeks!
Lateral Raise Variations
Lateral raises are excellent for developing those sexy boulder shoulders that bodybuilders and figure competitors covet, but we don’t want them to just look good. Form is paramount to making those hypertrophy and strength gains in tandem safely.
Standing Lateral DB Raise
The standard lateral raise isolates the lateral deltoid and is simple in its execution, requiring only light dumbbells. But it’s far from easy. If you keep a steady mind-muscle connection and tempo, you’ll be sore for days. Be sure to keep your dumbbells at a weight where your last rep is challenging without encouraging you to “momentum cheat” (or kip) to hoist them up.
How To
Stand with your feet about shoulder-width apart, dumbbells at your sides, palms facing in. Keep your core engaged and torso straight, making sure your shoulders don’t roll forward.
Raise your arms with slight abduction in the scapular plane (a hair in front of your body, rather than straight out to the side), keeping your arms straight but elbows soft.
Lift the dumbbells up to shoulder height, pause for a count, and then slowly lower them to starting position. When you get to the bottom of the movement, don’t release the tension. Immediately pull back up to the top of the movement.
Aim for a tempo of 1-1-3-0 and 10-12 reps per set.
Vary Your Grip
Once you’ve mastered the basic movement, experiment with different grips to target each deltoid head differently. Research shows that internal and external rotation, as well as elbow flexion can impact the isolation of the different deltoid heads (1).
For example, when in starting position, rotate your humerus (upper arm) externally so your palms are facing out, thumbs toward the ceiling. This targets the front of the shoulder in addition to the medial head. If you internally rotate your humerus (palms facing behind you, pinkies out) it puts more emphasis on the rear delts.
I like to use these as a finisher on shoulder day, doing 6-10 reps of each grip in succession – for example grabbing 5-10 lb dumbbells and banging out 8 reps thumbs out, 8 reps neutral grip, and 8 reps pinkies out, rest, repeat.
Resistance Band Single Arm Lateral Raise
Resistance bands are excellent tools for improving shoulder mobility and rehabbing injuries or an extended absence from the weight room. They’re also great for warming up your shoulders and gradually building strength. Bands can be easier on the joints than free weights and challenge your muscles differently with more tension at the top of the movement.
How To
Grab a light long-loop resistance band and stand with one end of the loop under your left foot, and the other end of the loop in your right hand, palm facing your thigh. With feet about shoulder width apart, keep your torso erect/spine neutral and raise your right arm to almost a 90 degree angle.
Pause at the top of the movement for a count and lower slowly. Repeat for 12-15 reps before switching to the other side.
You can also do these as a dual arm exercise if you have a long enough resistance band or one with handles. Just stand on the middle of the band and grip the handles at your sides. Perform the movement as you would perform the dumbbell raise.
Kneeling Landmine Lateral Press
While technically a press and not a raise, this lateral exercise is unique in its ability to isolate the medial deltoid. The landmine is a tubular attachment, either portable or affixed to a rack, that allows you to insert a barbell at one end and rotate it 360 degrees.
This allows you to safely press laterally in a way that is not possible with free weights. The weight is also supported by the base of the barbell making it more joint-friendly.
How To
With the barbell inserted into the landmine at one end, kneel beside the free end and grip the bar’s sleeve. Pull the bar up to rest in a pressing position at your shoulder. Keeping your core engaged, press the bar up and out to your side until your arm is straight. Lower the bar to your shoulder and repeat for 6-10 reps before switching sides.
Start with just the bar, remembering that we never want to overload a lateral movement. If an olympic barbell is too heavy, many gyms also have 35 and 15 lb bars that fit into a landmine base.
Leaning Single Arm Lateral Raise
While technically a press and not a raise, this lateral exercise is unique in its ability to isolate the medial deltoid. The landmine is a tubular attachment, either portable or affixed to a rack, that allows you to insert a barbell at one end and rotate it 360 degrees.
This allows you to safely press laterally in a way that is not possible with free weights. The weight is also supported by the base of the barbell making it more joint-friendly.
How To
With the barbell inserted into the landmine at one end, kneel beside the free end and grip the bar’s sleeve. Pull the bar up to rest in a pressing position at your shoulder. Keeping your core engaged, press the bar up and out to your side until your arm is straight. Lower the bar to your shoulder and repeat for 6-10 reps before switching sides.
Start with just the bar, remembering that we never want to overload a lateral movement. If an olympic barbell is too heavy, many gyms also have 35 and 15 lb bars that fit into a landmine base.
Shoulder-Specific Workout Programs from Top Strength Coaches
Strong & Mobile Shoulders
This program takes advantage of the Smash, Lengthen, & Strengthen methodology that is proven to unlock your shoulders and then build up the muscles so you can enjoy a PERMANENT improvement to your range of motion.
Building 3D Round Shoulders
Sturdy Shoulders
Related Blogs
Top 6 Exercises for Managing Shoulder Injuries
After 6 years of coaching at the highest levels across multiple disciplines, the most common issues I see in my sports therapy clinic have...
3 Killer Kettlebell Mobility Exercises for Your Shoulders
Let’s face it: sometimes your shoulders feel rickety even on good days. But overhead mobility and good upper body articulation is so...
3 Tips for Blasting Your Delts & Dominating Your Shoulder Workouts
Getting bigger, wider delts that pop off your shoulders requires more than just attacking your shoulder workouts — you gotta do them with...
Strongman Shoulder Workouts: Mastering the Overhead Press
The overhead press is the crux of many strongman competitions as it demands the ultimate strength of your shoulders, core, grip strength,...
4 Uncommon Movements to Build Massive Shoulders
Author: Lily Frei
Big, round shoulders are a crucial piece of any physique puzzle – if you want a defined v-shape, you need shoulders that look like they could support a car. Apart from the standard press/jerk variations and the standard isolation work, here are some movements to shake up your shoulder-building routine: Arnold press, handstands, face pulls, & reverse grip presses. Bonus points for taking the time to master the iron cross.

Join the community
Sign up for the latest training news and updates from TrainHeroic


Made with love, sweat, protein isolate and hard work in Denver, CO
© 2026 TrainHeroic, Inc. All rights reserved.