Mobility is hot topic, and vital for anyone spending time in the weightroom.
The ability to have full range of motion in your muscles and joints is one of the most important aspects of training.
Improving your mobility can help you workout for longer, reduces joint pain, and can reduce the risk of injury.
In this guide you’ll learn more about mobility, who it impacts, why you should be focusing on it no matter what your age or training history, and how to tame common mobility hot spots from head to toe.
What is Mobility?
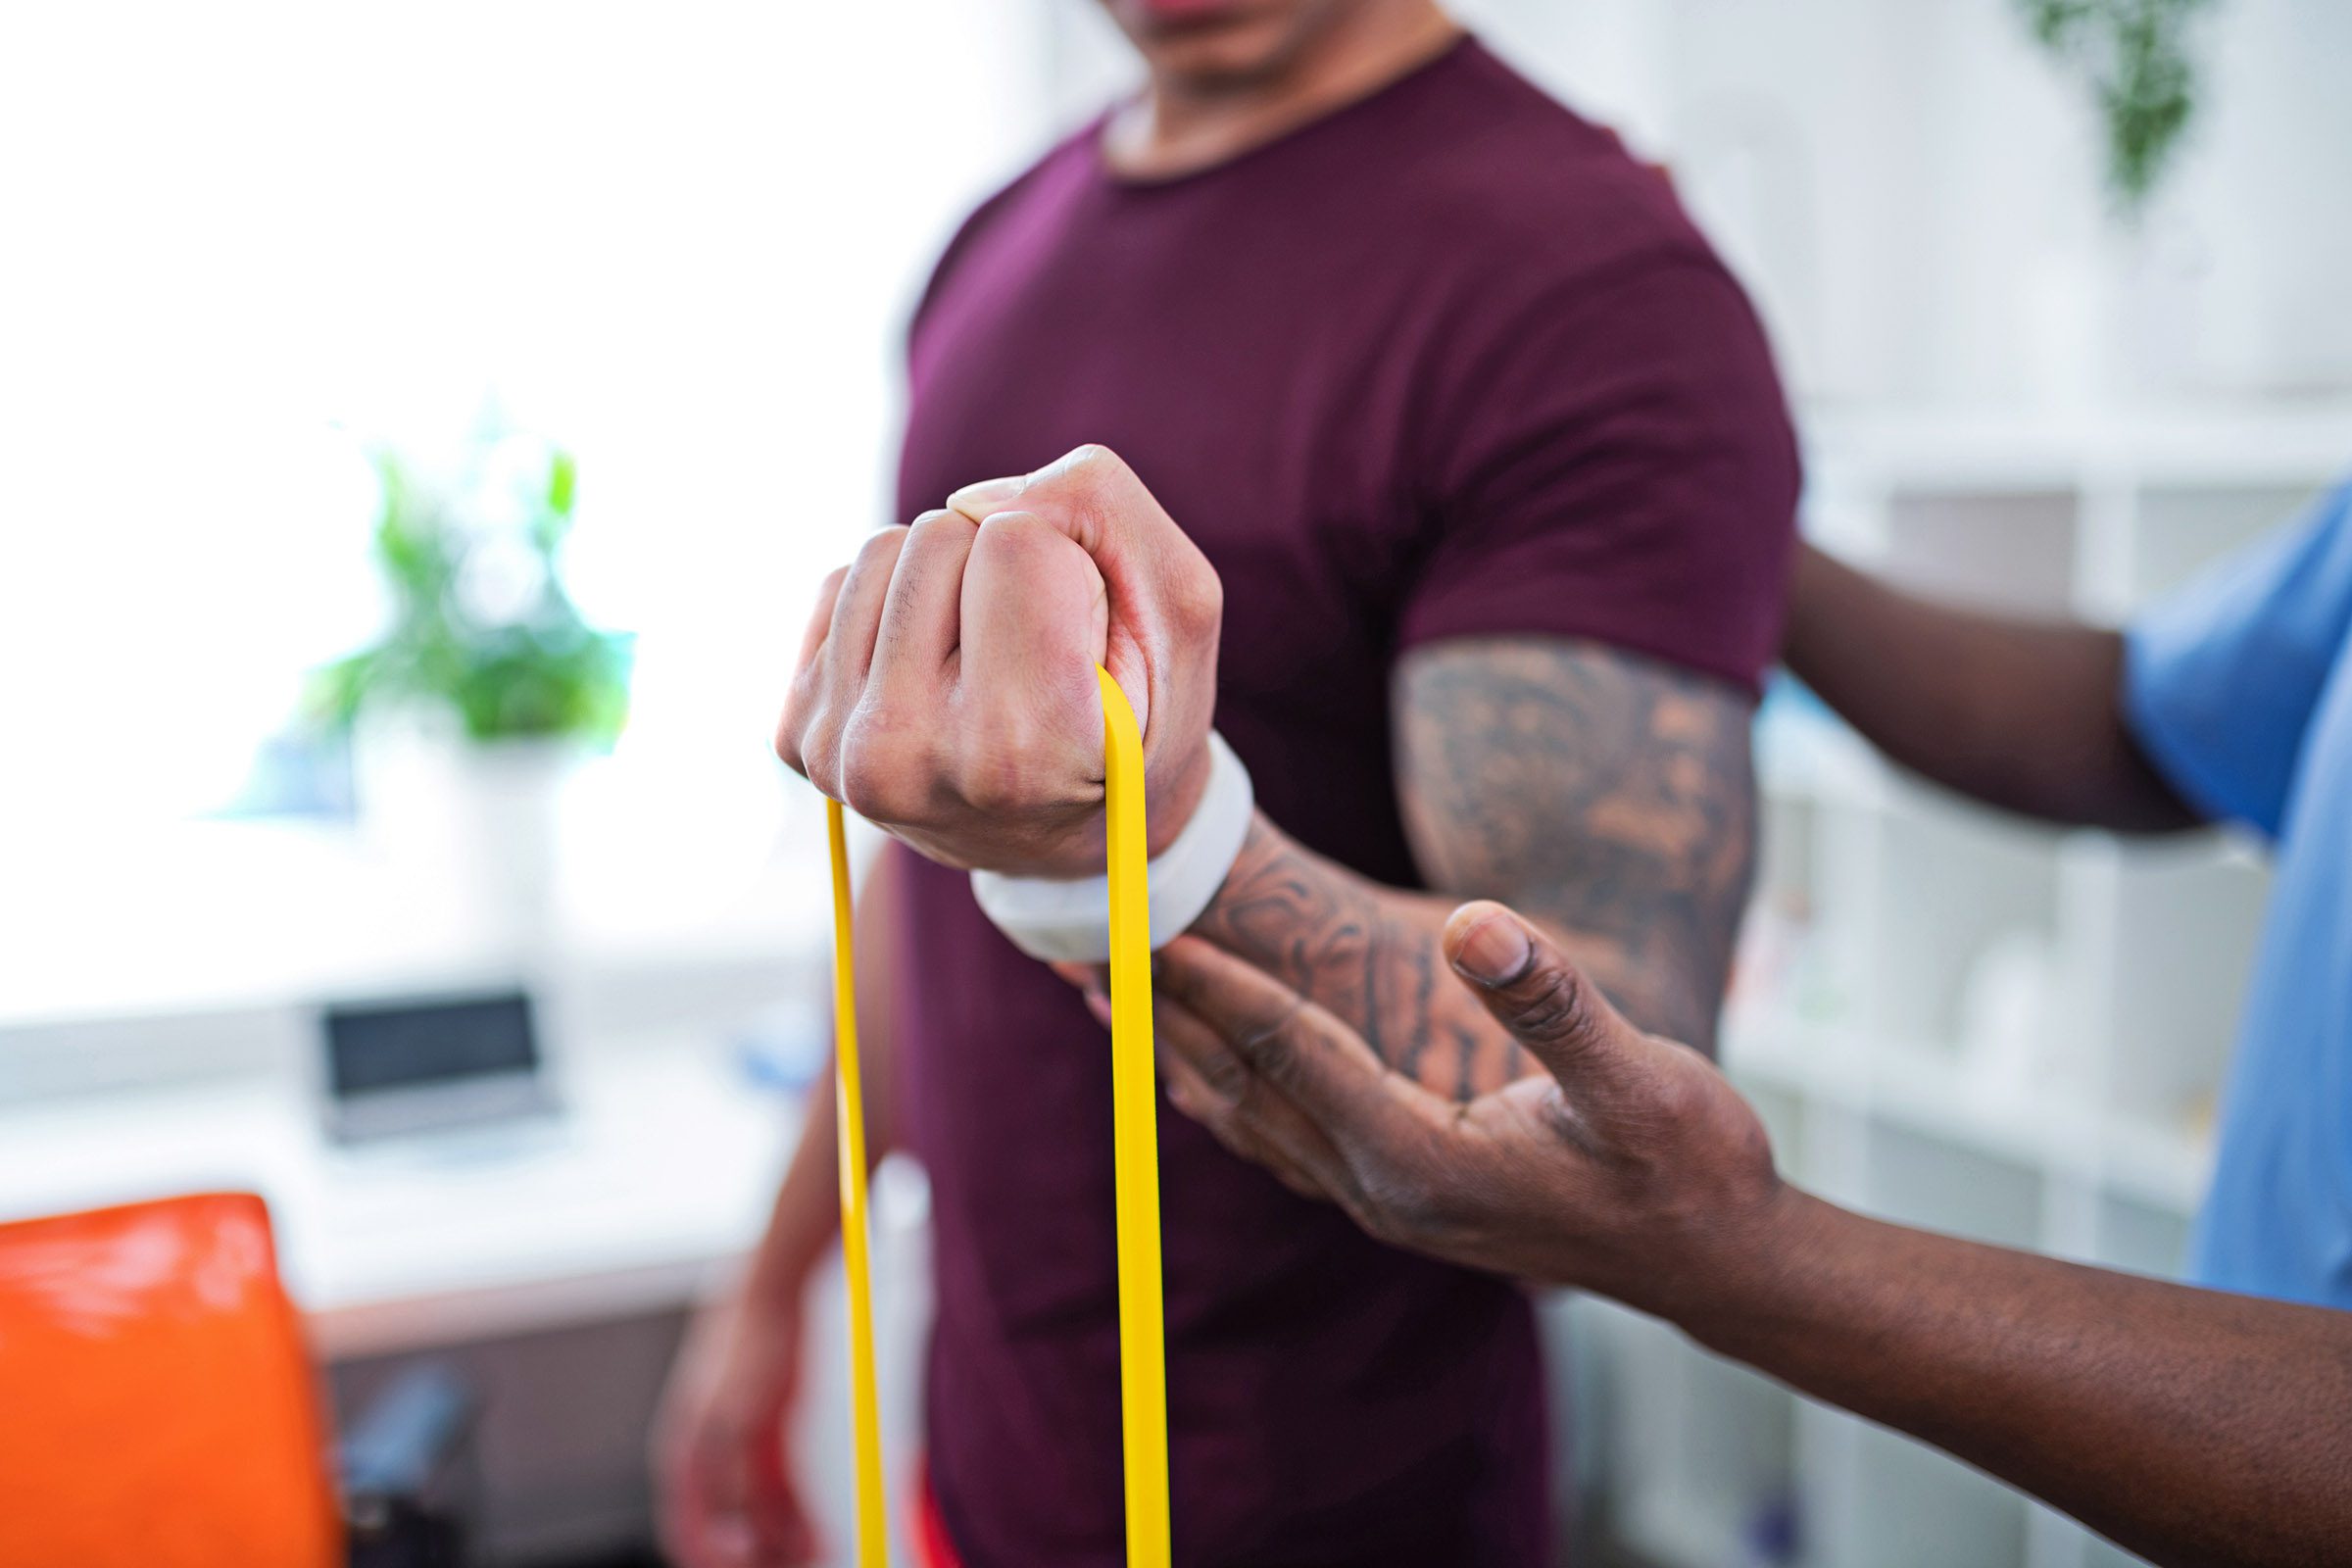
Mobility is a hot topic in the strength and conditioning / fitness world, but it’s nothing new. Physical therapists have been long familiar with the term. More often than not, they’re helping their patients with restoring mobility after an injury or corrective surgery. What may seem new is the increased focus on preventive mobility training being brought to the forefront of S&C by trainers in the know.
It seems that everywhere you look there is another program, device, or philosophy on mobility. And for good reason. It’s important to your training. A lot more important than you might think.
For those not yet in the know, you might be asking: Is mobility just another way of saying flexibility?
The answer is no. Not exactly.
Flexibility is the ability to lengthen a muscle.
Think about touching your toes. As you increase your flexibility, you can lengthen the hamstring muscles allowing you to reach further and further toward the ground.
Mobility is slightly more involved. While flexibility refers to lengthening a muscle, think about mobility as the ability to move a joint and accompanying muscles in the full range of motion it was designed for without mechanical assistance.
Someone with great mobility can move their entire body freely and without pain through a full range of motion. This involves much more than simply muscle flexibility. It requires: range of motion in your joints, joint and muscle stability, muscle strength, proper alignment and muscle symmetry, and muscle flexibility.
Why are Mobility Exercises Important?
This is a basic question with many potential answers. Since we’re a performance blog with an emphasis on strength and conditioning we’ll discuss through that lens: A lack of mobility can kill your gains, keep you from peak performance, and even cut your training career short.
1. Mobility issues decrease your strength and power output. A lack of mobility can lead to improper technique, which depletes your ability to most effectively produce maximum power and strength output. This also hinders muscle growth for you physique-minded Heroes.
2. Mobility issues increase your chances of joint and muscle damage (injury). Nothing kills your gains in the gym quite like being forced to take time off due to injury. Poor mobility combined with loaded movement is a recipe for disaster.
3. Increased pain and muscle fatigue. The key to performance gains is consistency. Pain and excessive soreness brought about by mobility issues can kill your consistency. If you perform a movement with a limited range of motion and don’t properly activate your major muscle groups, smaller muscles will take on extra unintended workload. Because these “assistance” muscles are smaller and weaker than your primary muscles you risk increased pain in the gym or will be left feeling extra sore after a workout. Potentially so much so that you put off training the next day.
It’s clear that mobility issues can keep you from achieving your fitness goals. However, if you step back and think about the definition of mobility, the importance of maintaining it becomes ever more clear.
Mobility is our ability to move through the spaces we occupy freely and without pain. Everything in our lives that requires movement is impacted by our mobility – from box jumps and explosive lifting to tying your own shoes as you age.
Why Should I Care? Who Is Impacted By Mobility Issues?
Everyone can benefit from a focus on mobility. Yes even you, the 20-something that can move like a ninja and train all day without being sore tomorrow.
Whether you’re a weekend warrior, a desk sitter, a parent, a partner, or a competitive athlete, mobility issues will impact you at some point in your training career or life.
Mobility isn’t just something to think about through a corrective lens. It’s something we should be proactive about.
As we age, we all become less mobile. It’s a fact of life. Look no further than a child for proof. Kids can hold a squat position seemingly forever, especially toddlers. We’re hard pressed to find many adults, except for the most fit people we know, that can do this.
Physical therapist Kelly Starrett, issued a challenge in this Men’s Health article that paints a picture. Stand up, warm up, sink into a full squat with your feet flat on the ground and hold it for 10 minutes.
Mobility isn’t just about holding static positions. It translates into your daily life. Groms (children skiers and snowboarders for those of you not hip to the Colorado mountain lingo) can bounce up from a crash on a ski slope that turned them into a rolling ball of limbs, snow, and equipment which would easily end the day (or season) of an adult. Why? It certainly isn’t pain tolerance or even skill. No, it’s their ability to fall down like Gumby without causing major damage to their joints. It’s mobility.
Combine this with the reality many of us face in our work life – long periods of time hunched over, seated in a chair, trapped, and we’re being hit with a 1-2 punch.
If we want to stay active and pain free into our old age, we have to prioritize mobility now (whatever age you happen to be).
This means that our time and focus in the gym should expand from becoming stronger, leaner, faster, more explosive, more swole, etc. and take into conscious account that we’re also restoring basic human physiological functionality that is being eroded daily.
The good news is that you can easily incorporate mobility into your training. That’s why we compiled this guide covering some common mobility trouble spots and giving you some suggestions on how to tame them.
A Deep Dive on Mobility Training with Vernon Griffith
Mobility is a hot topic in the strength and conditioning / fitness world, but it’s nothing new. Physical therapists have been long familiar with the term. More often than not, they’re helping their patients with restoring mobility after an injury or corrective surgery.
What may seem new is the increased focus on proactive mobility training being brought to the forefront of S&C by trainers in the know.
It seems that everywhere you look there is another program, device, or philosophy on mobility. And for good reason. It’s important to your training. A lot more important than you might think.
For those not yet in the know, you might be asking: Is mobility just another way of saying flexibility?
The answer is no. Not exactly. It’s more complex than that and slightly more nuanced.
So we sat down with coach Vernon Griffith, an expert in mobility having trained countless people ranging from professional athletes to military operators and everyday people who just want to feel and move better.
Buckle in for another great edition of the Training Lab.
Key moments from our video interview with Mobility Training Expert, Vernon Griffith
0:24 – Intro to mobility training
0:53 – Intro to coach Vernon and his path to becoming a mobility training expert
2:45 – What is mobility training & how do you approach it?
8:46 – Using the landmine attachment to train mobility movements
14:44 – Questions from the TrainHeroic audience
Want to learn more from coach Vernon? Ready to add a mobility training program to your training?

mobility exercises from head to toe


Introduction
Even if you have cannons that would make Hulk Hogan in his prime blush, your upper arms might still need a little help.
Not necessarily in terms of their size or ability to bang out umpteen curls, rows, and chin-ups, but rather with regard to their range of motion and overall tissue health.
If you’re experiencing excess soreness, dealing with tightness in your elbows and/or shoulders, or just haven’t mobilized this area for a while, try spending 10 minutes on the following bicep exercises once or twice a week.
Bicep Scrape
Instrument Assisted Soft Tissue Mobilization (IASTM) used to be a technique that you’d have to visit a physical therapist or chiropractor to benefit from.
But thanks to newer gear like the Wave Tool, you can take advantage of this adhesion-removing, circulation-promoting technique.
Just be sure to go slow, not to press too hard, and stop if you start seeing a friction rash developing. To scrape your biceps:
1) Lubricate your upper arm with lotion
2) Grip your Wave Tool or other instrument in your left hand and, starting just above your elbow, scrape up your biceps toward your shoulder
3) Perform 10 to 12 full scrapes upward, then reverse the motion
4) Switch sides. If your tool has different edges and surfaces, try switching between them to find the best fit for your biceps.

Chin-up Hang
If you’ve been using compound exercises to build up your biceps as well as isolation movements, then chances are you’ve been doing your fair share of chin-ups.
Feed some slack into those overly-tight tissues by performing this static version:
1) Grip a pull-up bar with a chin-up grip (palms facing you shoulder-width apart)
2) Slowly lower yourself until both arms are extended in the bottom position of the chin-up
3) Hang for 20 to 30 seconds
4) Take a 20 second break and then repeat four or five times. You can vary the stimulus by changing the position and width of your hands.

Biceps Opener with Stick
As beneficial as a static exercise like the chin-up hang can be, it’s also helpful to add in a little dynamic movement to challenge the biceps in a different way.
Enter this opener, for which you can use a product like a Mobility Stick, a wooden dowel, or a length of PVC pipe that will set you back about two bucks at your local hardware store (5 feet long, 1 inch diameter is about right):
1) Get into a lunge position
2) Place the bottom of the stick on the ground next to your front foot
3) Put your hand that’s on the same side on top of the stick
4) Slowly move your active arm backward until you feel a slight stretch in your biceps, making sure you keep enough pressure on the stick so it doesn’t slip
5) Hold for five to 10 seconds, return to the starting position, and repeat five to 10 times
6) Switch sides

Introduction
If you lift heavy, hard, and often, the likelihood is that your poor old hips take a battering.
Of course, a little soreness and stiffness comes with the territory, and you need a certain level of carefully dosed training stress paired with adequate rest to prompt adaptation and obtain the results you seek.
However, it’s all too easy for your hips to lock up, causing pain and discomfort, limiting your range of motion, and inhibiting performance.
Here are 5 hip mobility exercises to help with that. Put them into action (just a few minutes a day is all you’ll need to make change) and start sorting out your hips.
Hip Capsule External Rotation
1. Kneel on the ground and move most of your weight onto your left knee, positioning it directly under your hip
2. Lower your hips toward your left side, keeping your weight over your left knee. Picture attempting to pop the head of your femur out the side of your butt.
3. Keeping your weight over your left leg and pushing your hips to the left side, crawl forward a little and emphasize the tissues at the front of your hip capsule
4. Switch sides

Side Hip Smash
1. Lie on the ground and place a lacrosse ball, mini Supernova or other small ball by your left hip
2. Turn onto your left side and prop yourself up on your left elbow as you move the soft tissues just behind your left hip onto the ball
3. Slowly roll back and forth across the ball
4. Switch sides

Couch Stretch
1. Kneel in front of a wall, a plyo box or, as the name suggests, your couch
2. Place your left shin flat against the wall, box or couch and turn your foot slightly inward
3. Your right foot should be straight and flat on the floor in front of you
4. Push your left hip toward the ground, squeezing your butt as you do so
5. Try moving into the corners by tilting your torso slightly to the outside or inside of your back leg
6. After a minute or 2, put your left hand into a “sprinter’s start” position (making a bridge with your thumb and forefinger on the floor) and push your torso halfway upright
7. Repeat step #4
8. After another minute or 2, push through your right foot, remove your left hand from the floor and move your torso into an upright position. Try to squeeze your glutes. If you find yourself losing your balance, place a box, weight bench or something else to the side of you to hold on to.
9. Switch sides

Single Leg Flexion With External Rotation
1. Get into a lunge position with your right leg behind you and your left foot straight and plated on the floor
3. Next, push your left knee outward and toward the floor as you flatten your back
4. You can keep progressing until the outside of your left knee is almost touching the ground. To bias the lateral hip, lean your torso more to the outside and vice versa to emphasize the medial side.
5. Switch sides

Hip Capsule Internal Rotation
1. Kneel on the floor and move your weight onto your left knee, ensuring your knee is under your hip. Place a kettlebell on the inside of your left foot.
2. Hook your left foot around the kettlebell, keeping most of your weight over the left knee
3. Drop your hips back and toward your left side
4. Keeping most of your weight over the left knee and lowering your left hip toward the ground, crawl forward a little to emphasize the front of the hip capsule
5. Switch sides

Introduction
Whether you are a weightlifter, pitcher, quarterback, tennis player, or a golfer, you’ve probably experienced elbow pain.
The fire that burns with an intensity you’ve never experienced. The elbow pain that nothing seems to extinguish. Sure, you can apply an ice pack after practice or swallow a couple of post-game ibuprofen.
Maybe you start wearing a compression sleeve, and have a little PT work done. But sure enough, that pesky elbow pain flares up again before you know it.
However, there might yet be hope. With some simple elbow exercises you can start to fix your elbow issues. These exercises will increase mobility, and strengthen the joints around the elbow.
This will prevent further injuries like golfer’s elbow and tennis elbow from occurring.
When it comes to elbow pain, the joint itself is rarely the issue.
It’s often the soft tissues above or below it that are sending excess stiffness both upstream and downstream.
While the burn comes from your elbow, it’s the surrounding muscles, ligaments, tendons, and fascia that are supplying the kindling. Stoking the inferno and keeping it ablaze.
This means we must do one thing. We have to address the tacked-down tissues in your wrists and forearms.
Open up a line along the biceps and into the outer chest, and feed slack into your triceps.
All of these tissues are readily accessible and you can manipulate them with a few inexpensive tools.
A lacrosse ball, Voodoo Floss Band, barbell or roller, and medium resistance band will do the job.
This should come as good news to you. Instead of getting your elbow prepped for orthopedic surgery, you can implement non-invasive elbow exercises to start dousing the flames.
And the best part? You don’t even need to consult a professional to get started. If you spend 10 to 15 minutes a day on these elbow exercises, I’m convinced you’ll see noticeable improvements.
The benefits won’t be restricted to getting you out of pain, either. You should be able to remove adhesions that are limiting your range of motion.
You can also eliminate the distracting “damn, my elbow hurts” voice in your head, thereby improving your performance too.
Tricep Smash
Like your quads locking down and causing knee pain, the triceps can get tight and wreak havoc on your elbows.
A good place to start your new mobility routine is with this muscle group, which handles an awful lot of work, no matter what your sport of choice is.
1. Put a barbell in a squat rack at about shoulder height
2. Get your left arm over the top of the bar and drive the top of your left triceps down into it
3. Maintaining downward pressure, extend and flex your left arm
4. Move the bar down the back of your left triceps, stopping just above the elbow. You can bias the lateral or medial seams by moving your palm outside or inside. Another way to change the stimulus is by turning your wrist.
5. Switch sides

Forearm Tack and Floss
Every time you pick an object up, throw something, or even grip a door handle, you’re activating your forearms.
Despite the number of times we activate this area daily, when is the last time you saw someone mobilizing their forearms?
Probably never. Yet when this part of the arm gets gristly, it’s inevitably going to tug on the elbow.
This is likely one of the reasons you’re having an issue with golfer’s elbow or tennis elbow.
Let’s do something about that:
1. Place your left arm on a counter or plyo box
2. Turn the palm up and place a lacrosse ball between the underside of your forearm and the surface below
3. Push down on your forearm with your right hand
4. Alternate between slowly circling your hand and moving it up and down
5. Move the lacrosse ball up the forearm until it’s just below the elbow
6. Switch sides

Banded Lateral Opener
Whether you’re doing isolation work or compound movements, the price of building up your biceps is they get really tight. Just as with tacked-down triceps, this can radiate tension down into the elbow.
The problem is that biceps are overly sensitive, so smashing them with a roller is going to hurt like heck.
Instead, use a band to open the seam running along your biceps, into the front deltoid, and across the pecs.
1. Hook one end of a medium resistance mobility band around a squat rack pole or similar anchor just above shoulder height
2. Loop your left wrist through the other end of the band
3. With your back to the anchor, take a step forward with your right foot
4. Turn your torso to the right. You can alter the stimulus by moving the band down the pole and can also turn your head up and away.
5. Switch sides

Elbow Voodoo Floss Flexion and Extension
Compression sleeves are well and good, and if you’ve got persistent issues in your elbows, you’ve likely been using them.
While they can feel good, do you ever wish they were tighter? Forcing some good blood flow into those aching hinge joints?
Introduce the – Voodoo Floss Band.
This band can simulate and even exceed the effects of an electronic stimulation machine without the expense.
1. Wrap your left elbow with a Voodoo Floss Band, with 50 percent tension and a 50 percent overlay and then tuck in the end of the band
2. Move your elbow through a full range of motion
3. Switch sides

Introduction
Low back pain might be the most prevalent injury among those who train, but shoulder issues are arguably a close second.
Whether it’s an impingement that limits range of motion, hypermobility that makes dislocation more likely, or the dreaded rotator cuff tear that keeps orthopedic surgeons busy to the tune of 250,000 repair procedures each year, shoulder problems are pervasive.
This means that regular shoulder mobility work is a must. But sometimes people are coming at the problem with the goal of removing restrictions and adding greater range, when in fact what’s lacking is stability and strength.
Even when people realize this, their attempted solutions fall short.
Endless variations of “rotator cuff exercises” – see five kinds of shoulder flys, endless scarecrows, and three-pound Granny weights – are the go-to, and yet often produce little more than local soreness.
While a few of these movements have a place you have to understand that there are other “big rock” exercises that do much more to stabilize and strengthen the muscles and other tissues of the shoulder and scapula area.
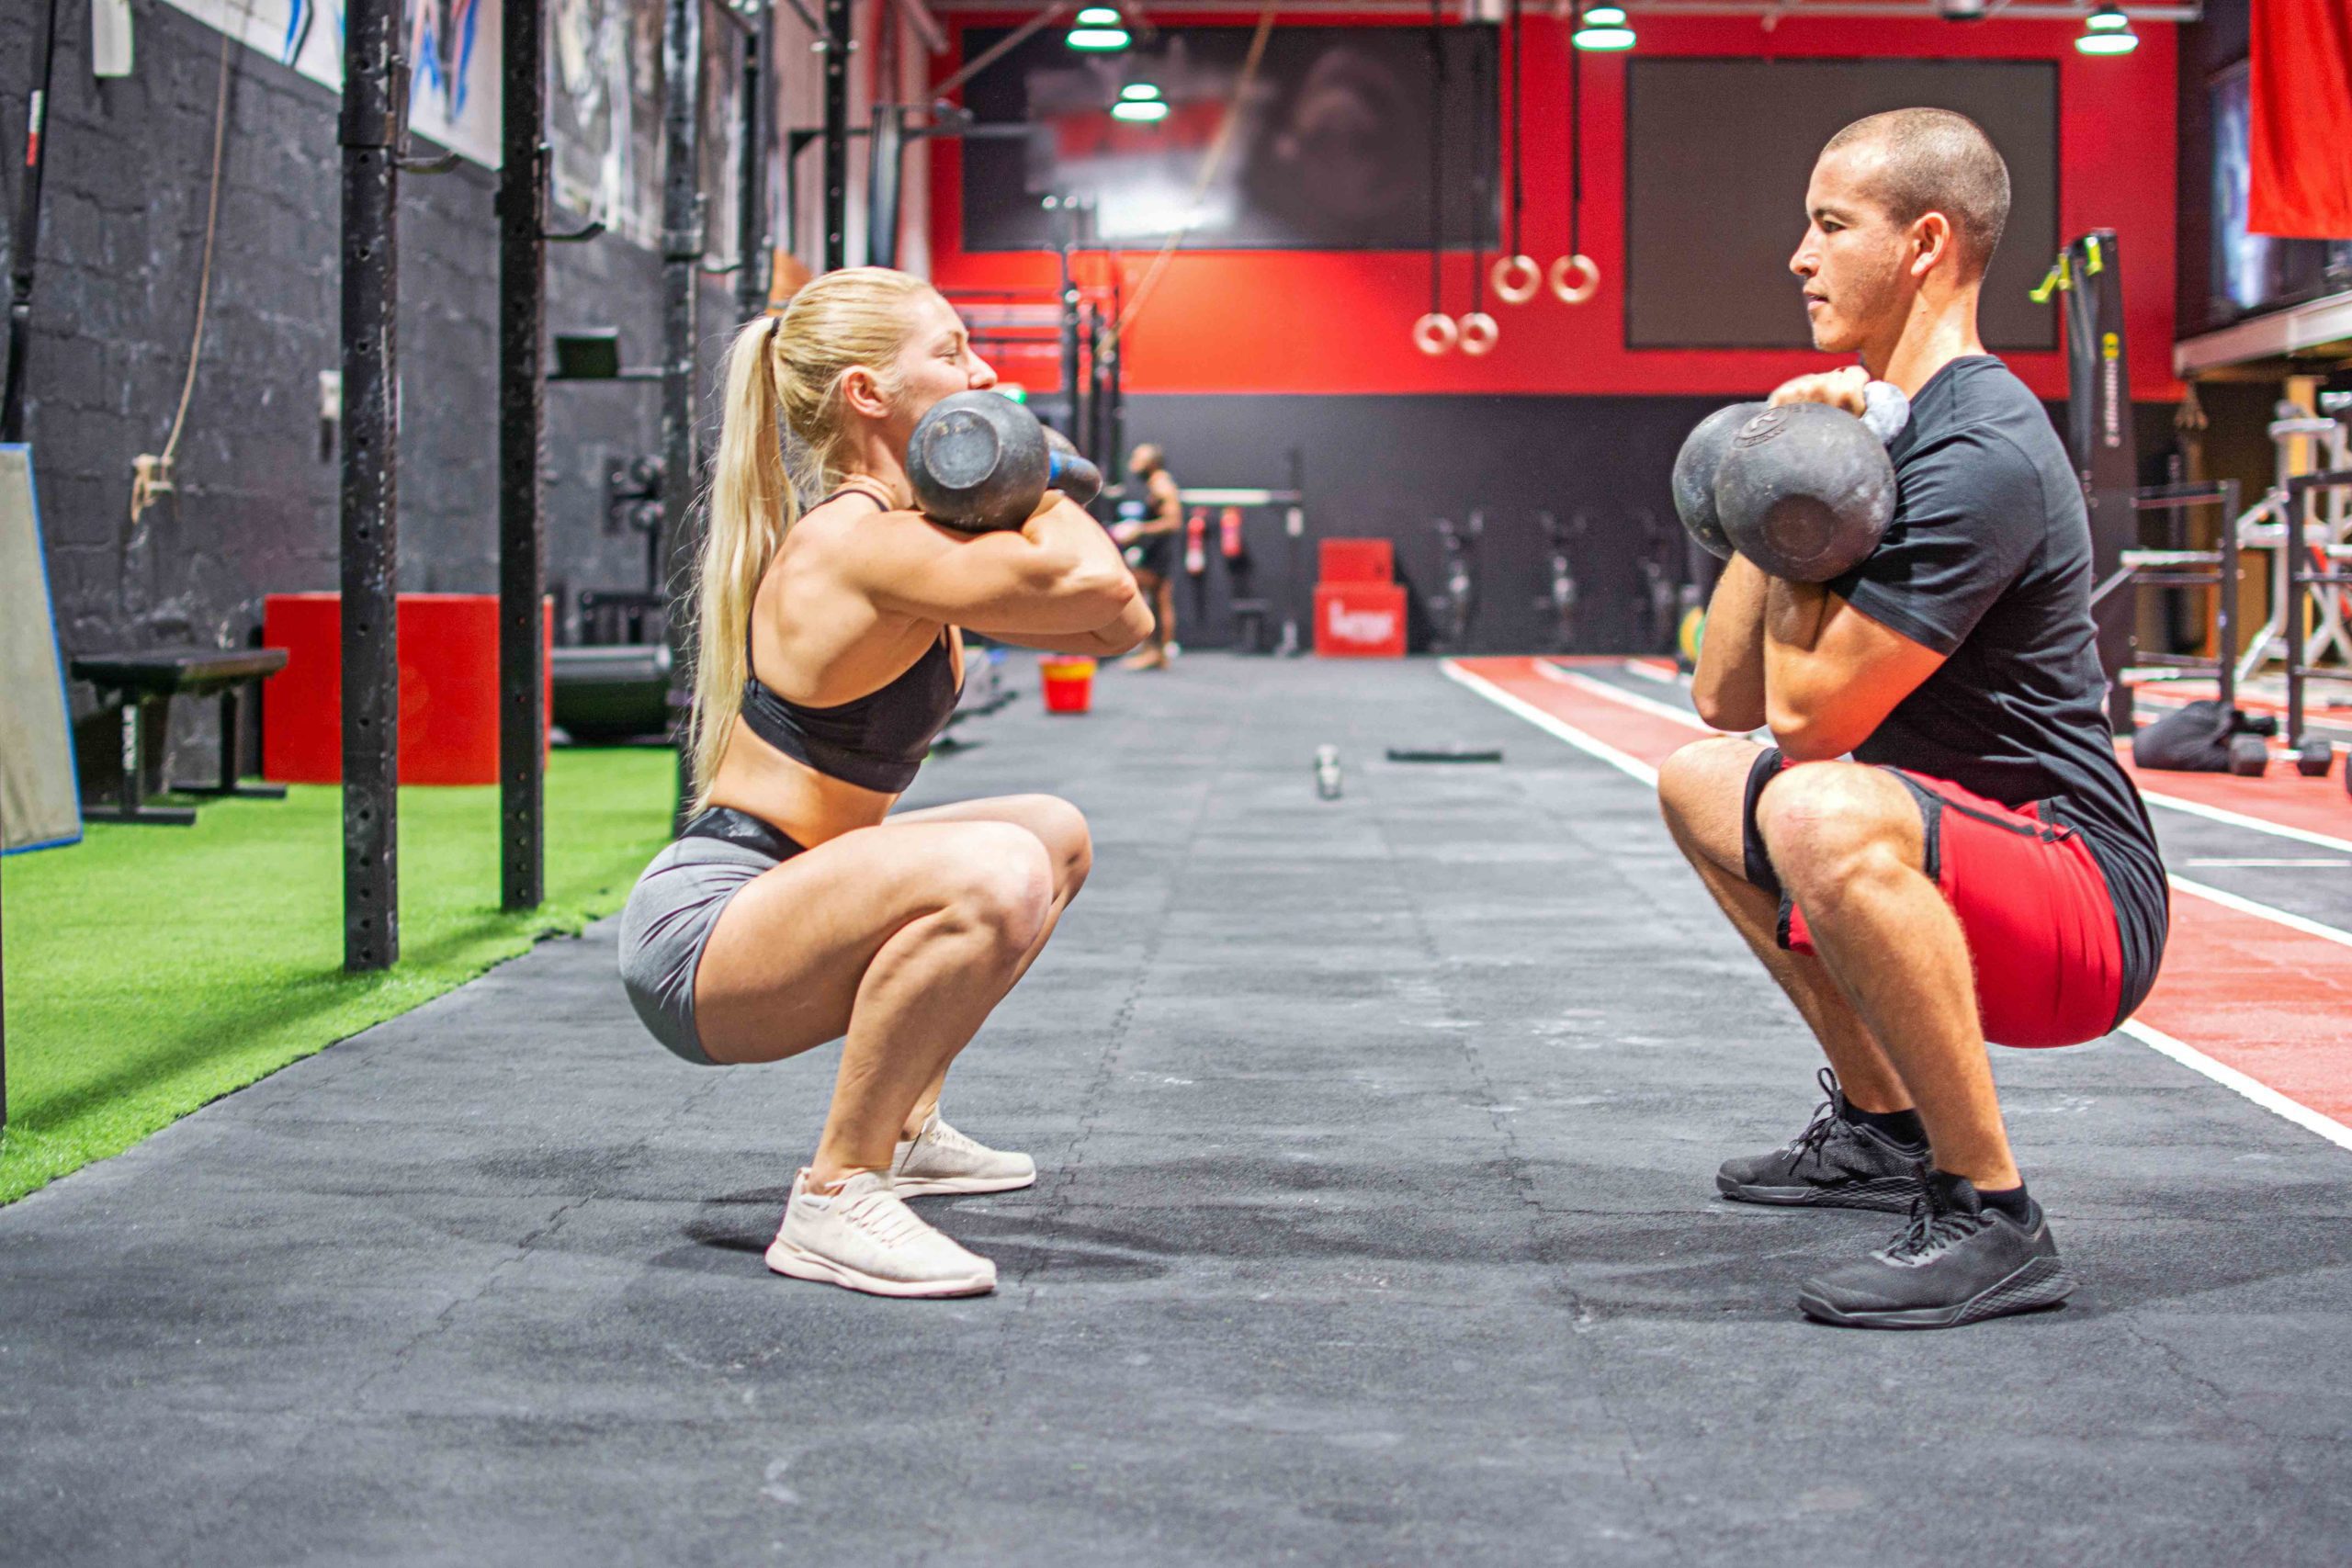
Here are three kettlebell exercises focused on shoulders to add to your training repertoire:
Single-arm Kettlebell Shoulder Press
OK, you could derive a lot of benefits from shoulder pressing a barbell with both hands.
But only using one arm adds an additional stability component and will help you avoid “cheating” with your stronger side while hiding the deficiency of the weaker one.
Making the shoulder press unilateral will also ask more of the inactive side, as it has to counterbalance the force you’re generating with the active arm.
- Stand with your feet shoulder width apart
- Pick up a kettlebell in one hand and hold it to your collarbone, with your palm facing your chest
- Bracing your abs and squeezing your glutes, straighten your arm to press the kettlebell overhead
- Lower the weight down under control, and use the stretch reflex to initiate the next rep
- Complete the desired number of reps, then switch sides
Form tip: Keep your active wrist straight, and create stabilizing tension by balling the hand of the non-active arm into a fist. Try to keep the path of the kettlebell straight up and down.

Overhead Carry to Suitcase Carry
Like the single-arm kettlebell press, you could use a dumbbell for both of these carry variations and/or a short bar for the suitcase one.
But the compact design of the kettlebell and concentration of mass in a smaller area makes it easier to obtain and preserve the proper alignment, particularly with the overhead component in which your shoulder is most vulnerable.
- Repeat the first three steps of the single-arm kettlebell press
- Walk down your driveway, across your garage (check overhead clearance first!), or between two cones
- Keep going until you start to feel slight fatigue in your arm, shoulder, or thoracic spine, then slowly lower the weight until it’s down by your side
- Continue walking until you again fatigue a little, then switch arms and start over in the overhead position, before transitioning to the suitcase carry
Form tip: When the weight is overhead, imagine a straight line running through your hip, wrist, elbow and shoulder. Start with a lighter weight that you think you can handle. When transitioning to the suitcase carry, put the weight further back than you might initially, so your active hand is between your side and back pockets (imagine it if your shorts/pants don’t have pockets), and keep your shoulder

Turkish Get-up
Of all the exercises you can do to sort out your dodgy shoulder/s, the get-up arguably reigns supreme. Why?
Because it requires both a horizontal (when you’re lying on the floor) and overhead press position and tests the integrity of your shoulder complex while static and in motion. Plus, unlike many movements, the get-up involves controlling the path of a kettlebell across the transverse plane, which is why folks like the Titleist Performance Institute (TPI) prescribe it for golfers.
Not to mention that the off-arm has to provide stabilization through the shoulder as you maneuver your body from lying, to a lunge, to a standing position, and then back down. As the get-up is a highly technical exercise, you can follow the directions below and check out this video, but you’ll be best off seeking a qualified kettlebell instructor to make sure you’re getting the finer points down.
- Lie on your back with your left leg straight and left knee bent, with your right leg flat on the floor. Then position a kettlebell next to your left shoulder and grip the handle with your left hand.
- While still gripping the kettlebell with your left hand, use your right hand to help move it toward the center of your body and then extend your left elbow
- As soon as your arm is locked out, allow your left shoulder to move to the back of the socket. Your left hand and elbow should be in a straight line over your left shoulder. Try to maintain this alignment throughout the rest of the exercise.
- Roll onto your right elbow, keeping your gaze fixed on the kettlebell
- With your right arm staying straight, push off the ground with your right leg and extend your right elbow with the right palm flat on the ground and positioned in a straight line down from the other arm, which is still gripping the kettlebell overhead
- Squeeze your butt muscles and drive off the ground with your right foot as you extend your hips toward the ceiling
- Use your right arm and leg to support you as you pull your left leg under your hips. Then place your right knee underneath your torso, making sure that you keep looking up at the kettlebell.
- Move your bodyweight toward your right side and get your torso upright. As soon as your right hand comes off the ground, pull your shoulder back and turn your arm outward. You should be in a lunge position.
- Use your left leg to push yourself up out of the bottom position of the lunge with your torso remaining upright and weight centered over your hips
- Bring your right foot forward so it meets the left, and stand up with your feet facing forward and shoulder width apart. Your left arm should be fully extended overhead and your right arm straight out in front of you.
- Reverse the pattern to return to the floor.
Form tip: Don’t ever do an AMRAP-style workout with get-ups, but rather focus on quality and take your time between reps. In some sessions, reduce the weight (again, this should be lighter than you think you can lift to begin with until you nail the correct technique) and pick one segment of the get-up to pause at during each rep (e.g. the lunge with arm overhead, or rolling onto the elbow).
Introduction
As the years pass even your hands begin to become sore as heck. This might be just a getting old thing, but there could also be more to it.
Let’s be honest, when was the last time you thought about hand mobility, or even acknowledged that it was even a thing?
Let’s dive into some mobility fixes that can help all the sore hands out there.
When you’re performing mobility exercises, it might well be that you typically focus on the obvious areas: Major muscle groups going from head to toe over the course of a training block or hitting the body parts they just taxed in today’s session.
This makes perfect sense, but both strategies have a flaw, in that they neglect smaller yet crucial parts of the musculoskeletal system.
This can lead to excess stiffness traveling upstream and downstream, resulting in diminished power production, movement compensations that groove sub-optimal motor patterns, and, if left unaddressed, eventually injury.
In the case of sore and tight hands, this can mean that you start over gripping, which will not only compromise your grip over the long haul, but also locks down your overtaxed forearms and elbows.
Further workarounds will then occur further up the kinetic chain in the biceps, triceps, and front deltoids, which can cause or exacerbate range of motion issues and limit force generation in the shoulders.
Keep following this knock-on effect far enough, and you might start to see further over-compensations in the cervical, thoracic, and lumbar spine, down through the hips, and into the lower body.
To stop this chain of events in its tracks, address acute and chronic pain, and restore full slide and glide, here are a few mobility exercises you can perform.
Two to three times a week would be fine, though if it’s a persistent issue, you could perform these movements daily.
Accumulating two minutes per exercise per hand is a good rule of thumb (pardon the pun), though you should keep going until it makes change.
Forearm Ball Smash
1. Place your left arm on a countertop or plyo box
2. Turn the palm up and place a lacrosse ball between the underside of your forearm and the surface below
3. Push down on your forearm with your right hand
4. Alternate between slowly circling your hand and moving it up and down
5. Move the lacrosse ball up the forearm until it’s just below the elbow
6. Switch sides

Forearm Scrape
1. Apply some lotion or aloe gel to your left forearm
2. Grip the MWOD Leopard Claw with your right hand
3. Slowly scrape the tool down and across your forearm
4. If you start to get red bumps in an area, move the Leopard Claw further down your forearm
5. Switch sides

Banded Wrist Distraction
1. Wrap your left wrist with a Voodoo Floss band, with 50 percent tension and a 50 percent overlay and then tuck in the end of the band
2. Loop one end of a medium resistance (green) mobility band around a squat rack post or similar anchor
3. Put the other end of the band around your left wrist, with your left palm on the ground and facing away from the anchor
4. Pin your left hand to the ground using the right one
5. Flex and extend your elbow
6. You can also change the stimulus by turning your palm to face the anchor point
7. Switch sides

Introduction
Some have sore necks all day, every day. There are several possible culprits.
It could be that your traps and the structures of the thoracic and cervical spine handle a lot of load and throughput. Whatever the case may be when excess stiffness becomes the new normal it can trigger or exacerbate headaches or even migraines.
While no one move is a magic bullet, here are four simple neck mobility exercises that can help alleviate neck pain and hopefully put laid to those headaches and migraines, too.
Neck Tack and Floss
- Use your right hand to place a small mobility ball at the base of the front of your neck on the left side
- Twist the ball into your skin and then extend your head slowly up and to the right
- Return to the start position and repeat 20 to 30 times. To increase the stimulus, you can pin your left arm behind your back.
- Switch sides

Supraclavicular Scrub
- Use your right hand to place a small mobility ball just above your left clavicle (collarbone)
- Starting above the inside of the bone, use your right hand to twist the ball into the soft tissues
- Slowly work your way along the collarbone to the outside of it
- Switch sides

T Spine Overhead Extension
- Lie on your back on the ground
- Position an MWOD Gemini horizontally inside your shoulder blades and at the base of them
- Extend both arms overhead
- Bridge your hips up a few inches and then slowly lower them back down
- After 15 to 25 reps, move the Gemini slightly higher. Eventually end with it on your traps at the base of your neck.

T Spine Flexion
- Repeat steps #1 and #2 from the t-spine overhead extension
- Curl your torso into a half sit-up and then slowly lower yourself back down, sinking into the Gemini
- Repeat 40 to 50 times

Introduction
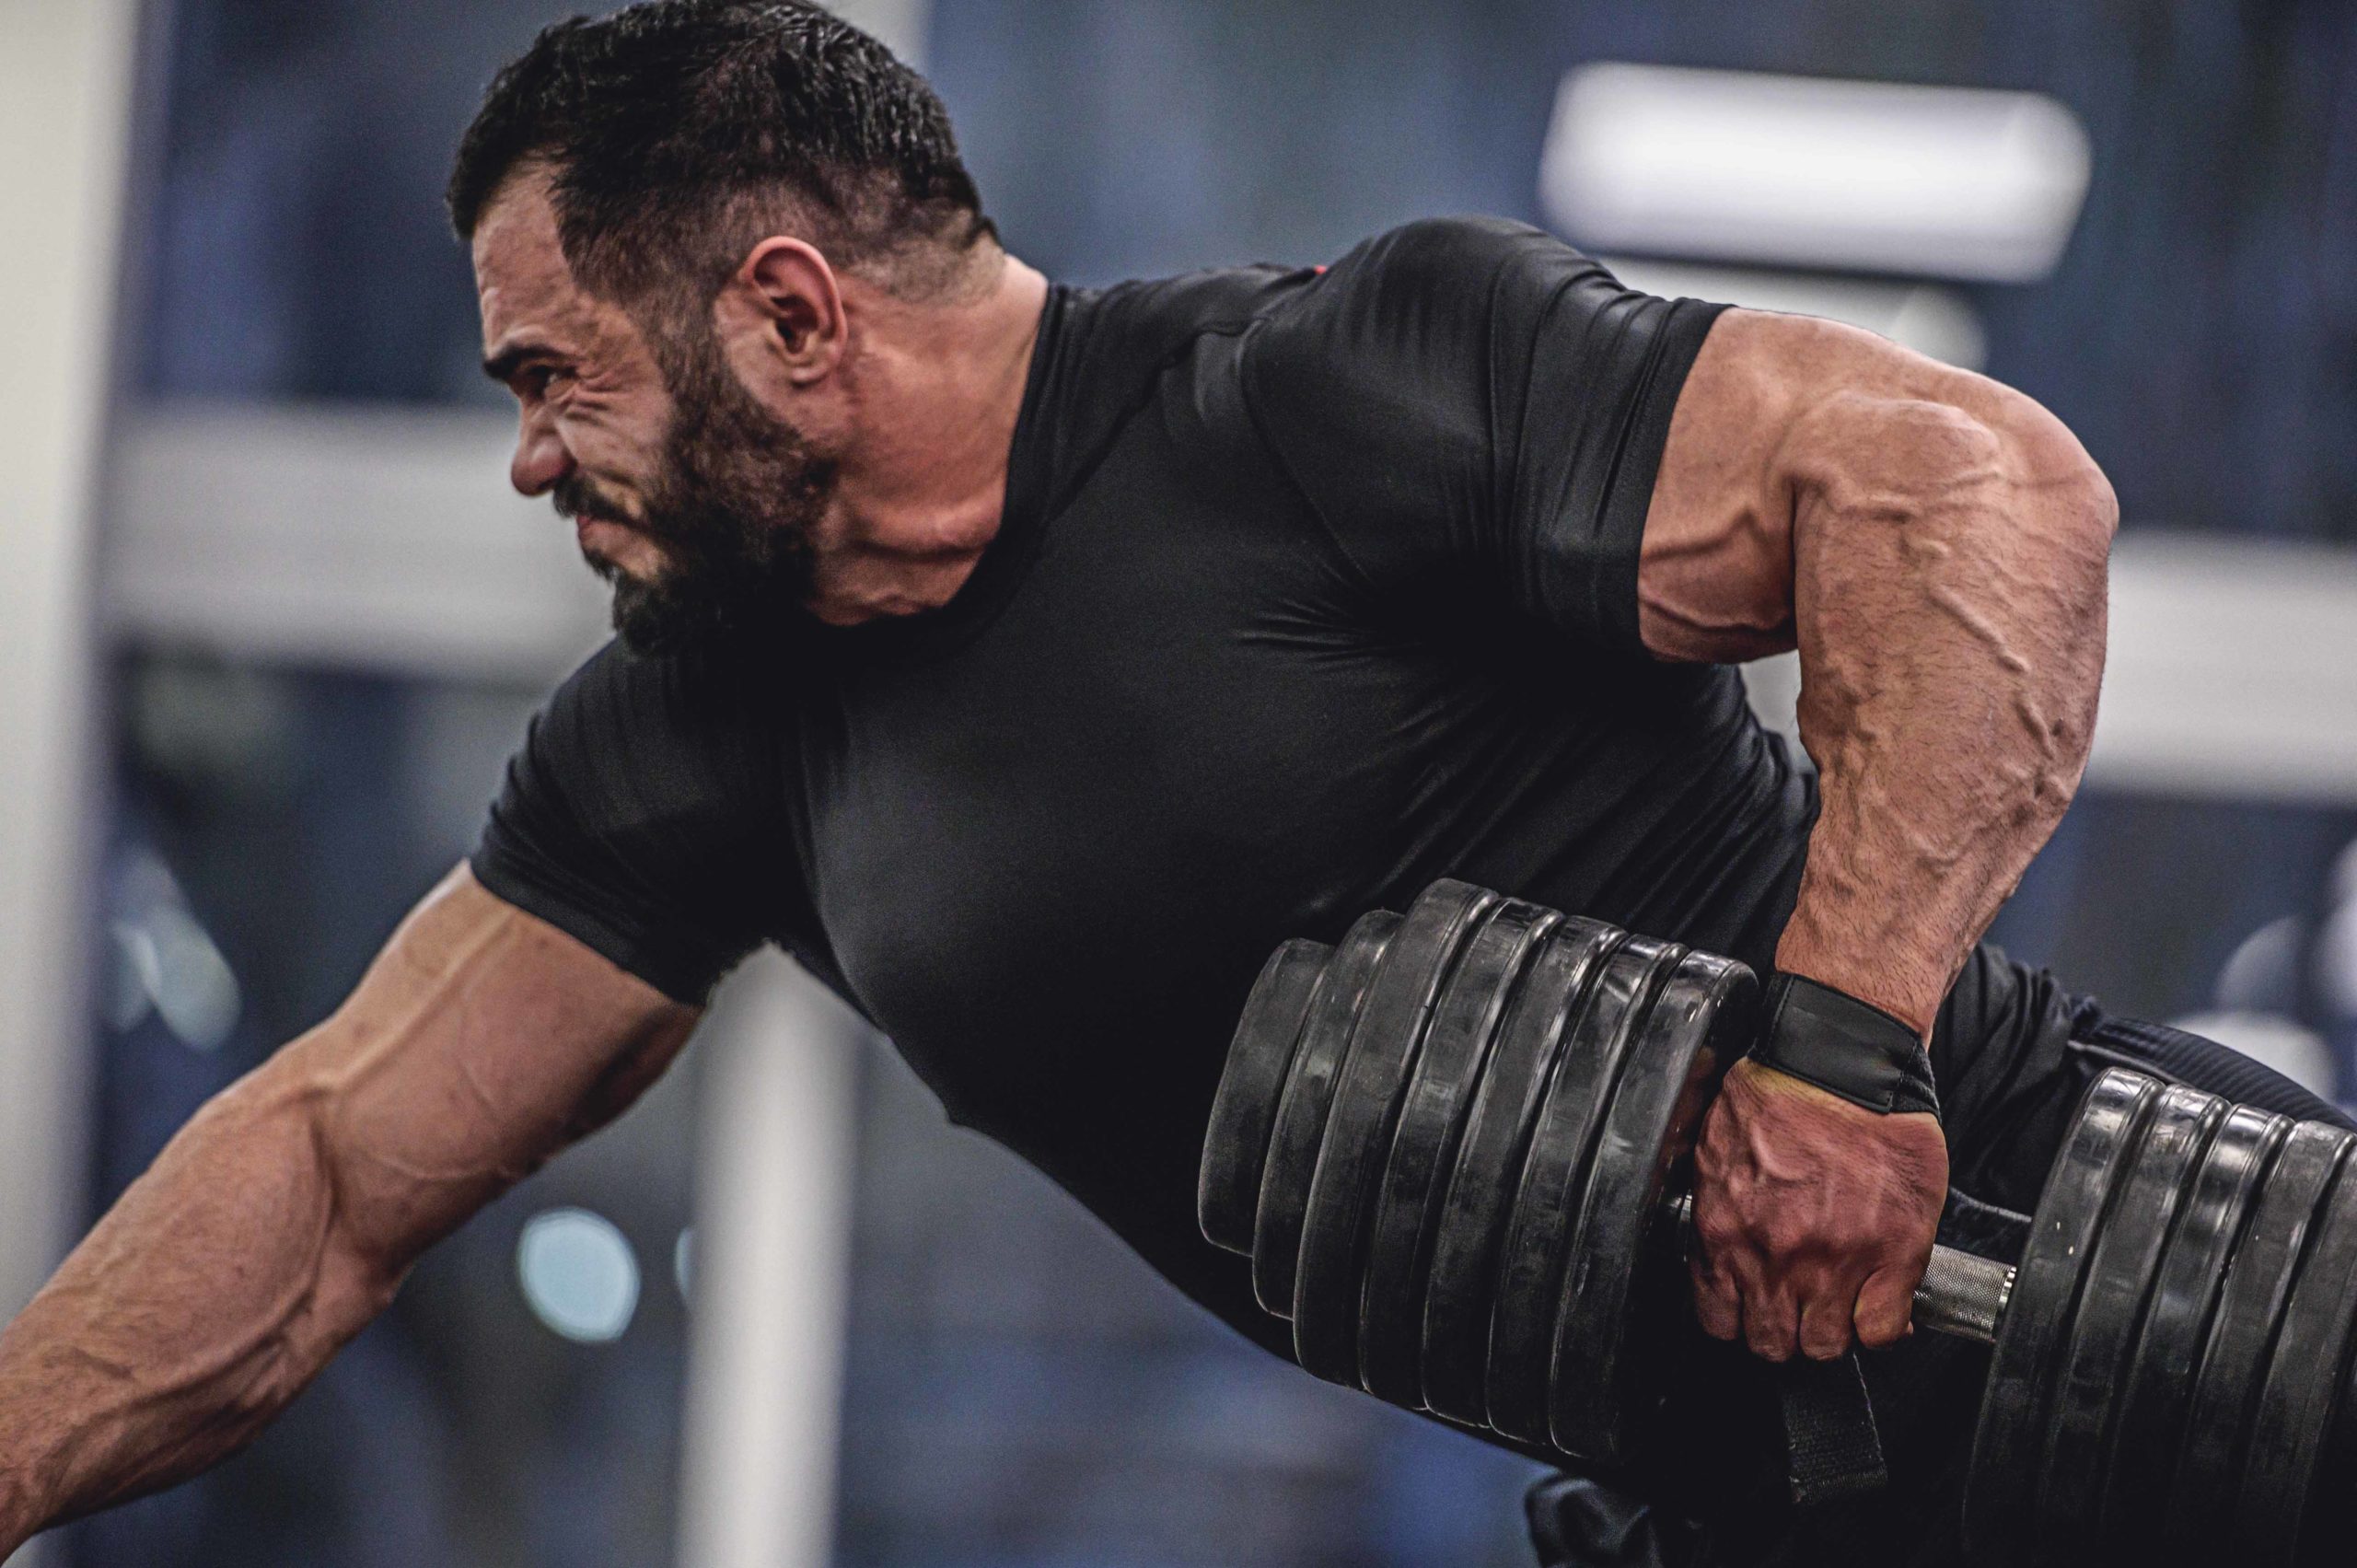
Mobilizing your lower body seems pretty straightforward, right? Roll out those crazy tight quads, smash those sore hamstrings, and give those poor aching calves some attention.
But when it comes to upper body mobility, it can be a bit of a crapshoot, can’t it? The temptation is just to go after what’s most sore, whether that’s locked up shoulders, pecs that might explode if you so much as attempt one more rep, or triceps that feel like they’re on fire. But yet it’s all too easy to pass over a true workhouse: your lats.
These big bands of muscle come into play in just about every upper body exercise, from the obvious ones like pull-ups and bent-over rows in which they’re a prime mover to those in which they play more of a secondary role push and bench presses.
They’re also involved as stabilizers in moves that you might not consider, such as deadlifts, squats, and kettlebell swings.
Such stiffness doesn’t exist in isolation and isn’t confined to the lats themselves.
This can mean that if you don’t take mobilize your lats when they’re all bunched up, they could cause pain in the ribs and side of the chest wall, alter mechanics in several major movement patterns and even be a contributor to that shoulder and hip issues that have been bugging you for so long.
So if you clean up your lats, you can positively impact the range of motion, tone, and neuromuscular control of tissues and joints above and below your lats.
With that in mind, here are a few exercises to incorporate into your mobility routine. Even doing them for two to five minutes a side twice a week will make a big difference.
Banded Bully With Extension Bias
- Loop one end of a medium (green) resistance mobility band around a squat rack pole or similar anchor
- Hook the other end of the band around your left elbow
- Facing away from the anchor, place your left hand behind your back, using your right hand to keep it there
- Take a big step forward with your left foot and turn your torso to the right
- As you do so, pull your left elbow forward
- Shift your foot position to the right several times to emphasize the soft tissue in your t-spine
- Switch sides

Bar Hang
- Grip a pullup bar with an overhand grip, with your hands shoulder width apart
- Let your arms fully extend
- Hang for 30 to 45 seconds, rest for 10 to 20 seconds, then repeat
- Accumulate 2 minutes
- To vary the stimulus, try making your grip narrower or wider, or switch to an underhand chin-up grip
- Switch sides

Lateral Opener
- Hook one end of a medium (green) resistance mobility band around a squat rack pole or similar anchor just above shoulder height
- Loop your left wrist through the other end of the band
- With your back to the anchor, take a step forward with your right foot
- Turn your torso to the right. You can alter the stimulus
by moving the band down the pole and can also turn your head up and away. - Switch sides
Lat Smash
- Lie on your left side on the ground
- Extend your left arm above your head
- Place an MWOD Supernova below your left armpit
- Slowly roll side to side across the ball
- Move the ball down and continue rolling side to side across it. Stop where the lat muscle inserts into the ribcage.
- Switch sides

About TrainHeroic
Support
Made with love, sweat, protein isolate and hard work in Denver, CO
© 2022 TrainHeroic, Inc. All rights reserved.