Injury Prevention 101: Deploying Muscle Activation, Movement Prep, and Mobility to Bulletproof Your Body
Recovery | Sports PerformanceABOUT THE AUTHOR

Phil White
Phil White is the co-author of Waterman 2.0 (with Dr. Kelly Starrett), The 17 Hour Fast (with Dr. Frank Merritt), Unplugged (with Dr. Andy Galpin and Brian Mackenzie) and Game Changer (with Fergus Connolly). He writes for Train Heroic, HANAH, Momentous, XPT, Onnit, StrongFirst, TRX, McGregor FAST, and other leaders in human performance. In a previous life, Phil was nominated for a screenwriting Emmy. He lives with his wife and two sons in the mountains of Colorado. Connect with Phil at www.philwhitebooks.com
OK, let me start with a quick caveat. There is no way to eliminate completely the possibility of getting hurt. When you’re physically active, there’s always the chance that something will go awry, particularly when you are operating in an open, chaotic, and unstable environment (see: athletes playing in a game or troops on an active duty mission).
So beware of anyone claiming they can rule out the risk of getting banged up…because they’re full of crap.
That said, Dr. Kelly Starrett, founder of MobiltyWOD (and, in full disclosure, my co-author of Waterman 2.0) believes that 98% of injuries are the result of incomplete ranges of motion or faulty mechanics, which lead to incidents, which in turn eventually result in accidents – what he calls the I3 Model (informed by Charles Perrow’s normal accidents theory).
Often the approach of coaches, physical therapists, and others who might at some point quarterback an athlete’s care and return-to-play protocol is highly reactive: they spring into action only after the player goes down.
Their response is, of course, much needed, but in some ways it’s too little, too late.
If intervention had occurred earlier at the incomplete ROM/poor mechanics or incident stages, it might have been possible to break the chain of events before it progressed to the point of the player being put on the injury list.
Obviously, this isn’t the case with those 2% that result from a random action, such as a running back being crushed by two 300-pound linemen or the freak dislocation/fracture accident Boston Celtics forward Gordon Hayward suffered last season.
In the next few hundred words, I’ll try to help you preempt the other preventable 98% by implementing a few tried-and-true methods before, during, and after every training session and game.
// Muscle Activation/Movement Prep
Pre-workout shakes and shots of amino acids have become immensely popular in the past few years. While these may offer some benefits, the best use of your time is on the floor, not at the blender.
Before you take your body from 0 to 100 MPH, you need to prime the pump a little. So build in 10 to 15 minutes for a thorough sequence of exercises that take your body through full ranges of motion while unloaded.
Examples include exercises that require motion, like forward and backwards rolls, bear crawls, dead bugs, and banded crab walks. You can also utilize static/isometric exercises, like planks and bridges (double and single leg). While you should save soft tissue work until after your workout (as it puts you in a parasympathetic state that’s undesirable for peak activity – i.e. stop foam rolling before you lift!), exercises that don’t involve smushing your muscles – like banded distractions and a pre-squat/deadlift hip opener – can increase ranges of motion to deliver greater performance.
As Starrett says, “If you don’t have time to warm up, you don’t have time to work out.”
// Technique Correction

To paraphrase Gray Cook, if you can’t do a weighted movement without weight or perform a fast movement slowly, then you’re hiding something.
That’s why it’s a good idea to make friends with bodyweight versions of the exercises you’re about to perform, and also use a dowel or PVC pipe before you pick up a barbell, kettlebell, or dumbbell. Doing so will not only grease the groove of the motions you’re about to perform before you add load and velocity, but will also give your coach or training partner the opportunity to assess your technique and, where necessary, cue corrections that can help fix faulty mechanics before they hurt you (literally and metaphorically).
For example, if you’re reversing your pelvis (aka the dreaded “butt wink”) when squatting, better you fix that with a PVC pipe across your shoulders than when bending the bar with 400 pounds. We don’t train solely to increase our work capacity, but also to improve our movement literacy and test the integrity of our positions with the demands of weight, speed, and fatigue.
To avoid putting the horse before the proverbial cart, we need to first nail down basic positional archetypes (lunge, squat, hip hinge, overhead, hanging, etc.) without subjecting ourselves to these additional challenges.
Once you’ve performed bodyweight and lightly loaded versions of the exercises you’re about to do faster and heavier, you could do something like the Burgener Warm-up or Javorek’s complex one, two, or three to get your joints and major muscles ready to rock and roll.
Finally, add in two or three minutes of jumping rope to prepare your nervous system for going into high gear – good enough for every pro boxer on the planet; good enough for us.
// If It Feels Sketchy, It Is Sketchy
As I explored with Dr. Andy Galpin and Brian Mackenzie in our book Unplugged, our bodies have a far greater capacity for self-monitoring than we give them credit for. The trouble is that many of us have abdicated our awareness to our fitness trackers and apps, tuning out what our body is trying to tell us until we can’t hear it anymore.
As we just explored, having a coach or training partner point out and help correct technique errors that might lead to injury can be highly beneficial. But ultimately, you have to take responsibility for yourself and fine tune your self-awareness to the point that you can tell when your system is sounding the alarm.
Starrett often says, “If it feels sketchy, it is sketchy.” In other words, if you feel like you’re about to tear something, you probably are. So you need to stop.

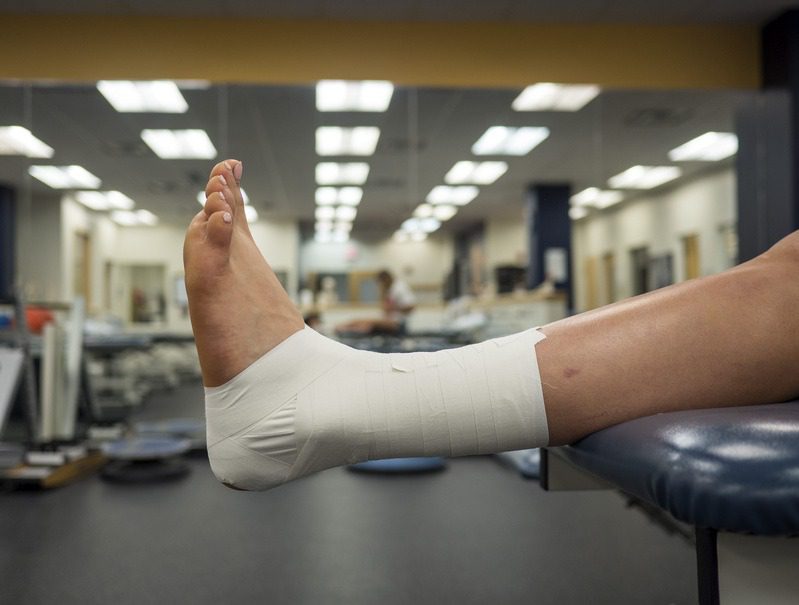
I tried to keep this in mind recently while rehabbing a hamstring injury. It was, thankfully, only a grade one tear, but still enough that the first few times I tried to hip hinge, it locked up like I had a piranha biting down on the back of my left leg (you feeling me, fellow hamstring hobblers?).
As I wasn’t targeting any kind of competition, I was conservative in my rehab and followed Starrett’s protocol for returning to loaded movement (including these banded exercises). As part of this, I did a lot of bodyweight squats, lunges, and RDLs, paying very close attention to how the movement felt at all times, to the point that it was cognitively draining. Anytime I felt that bloody hamstring start to tighten up, I stopped, rubbed it out, waited 30 seconds to a minute, and then continued. I slowed the pace down considerably so I was focusing intently on movement quality and biofeedback.
As a result – knock on a very large piece of wood! – I did not reinjure the muscle and am just about back to full function. The main reason? Paying attention to what my body was telling me and backing off when necessary.
// Mobility Work
Once we’ve taken the race car that is your body up to top speed, you need to bring it back down from 100 MPH to 0. While there are going to be occasions when you’re pushed for time, try to carve out at least 10 minutes to do so.
As Starrett told me once, “Riding hard in the rain and then putting away a wet horse is a surefire way to kill the horse.” After galloping (I know you’re not a horse – think lifting, sprinting, plyometrics, or team practice), you need to slow to a canter, then a jog, then a walk.
For our purposes, this means doing 5 to 10 minutes of slow movement. If you’ve just done a savage interval workout on the track, finish up by walking a couple of laps. Or if you’ve hit the rowing machine hard, do 1000 meters slowly before unstrapping your feet. This will bring your heart rate down, while encouraging the flow of oxygenated blood to those tired muscles.
Next, you should do some mobility work to further encourage your body to return to its resting state. One of my go-to combinations is Starrett’s couch stretch, followed by the banded chain posterior mobilization (3:01 and on in this video).
This helps re-open my hips, quads, glutes, and yes, those pesky hamstrings. Then I follow the advice of my friend and Align Therapy podcast host Aaron Alexander and hang for two to three minutes (in 30 second increments, I’m sadly no Tommy Caldwell) from my pull-up bar to liberate my lats, shoulders, and rib meat.
A good rule of thumb is to mobilize the big engines of the hips and shoulders, and then target the main muscle groups you just taxed during training.
Following these steps, which I learned from experts like Starrett and Dr. Travis Jewett, is in no way a foolproof plan for eliminating injury. But going through them consistently will certainly go a long way toward reducing the risk.
Are you a better coach after reading this?
More coaches and athletes than ever are reading the TrainHeroic blog, and it’s our mission to support them with useful training & coaching content. If you found this article useful, please take a momemnt to share it on social media, engage with the author, and link to this article on your own blog or any forums you post in.
Be Your Best,
TrainHeroic Content Team
HEROIC SOCIAL
HEROIC SOCIAL
TRAINING LAB
Access the latest articles, reviews, and case studies from the top strength and conditioning minds in the TH Training Lab